Garlic is good. It adds flavor to anything it touches. It has a bit of heat and a lot of zing. Garlic can transform a simple tomato sauce into something sublime or can be added to butter and tossed over noodles for a simple yet flavorful meal.
Roasted garlic is something more powerful entirely. Roasting a head of garlic changes the flavor and texture almost completely. It becomes both sweet and savory at the same time, the embodiment of everything mother nature intended garlic to be. Roasted garlic doesn’t slap you in the face, but rather gently seduces your senses. It’s the Mata Hari of the onion family.
The funny thing is, for all that roasted garlic can do for your recipes, I know a lot of people that would rather buy it in a jar than make their own. This seems a bit strange to me considering how simple it is to make your own, far superior product at home.
I don’t know if the thought frightens some people or if they think that it is horribly difficult and time consuming. Neither is true. Roasting garlic is about as simple as it gets.
If you’re one of those people that for some reason have never roasted your own garlic, come along with me and I’ll show you what you’ve been missing. You’ll thank me for it later. Really, you will.
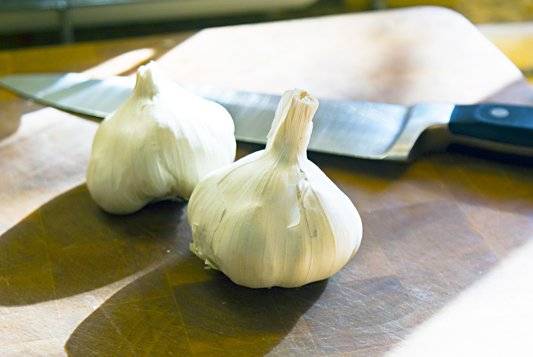
First, choose a decent bulb of garlic. It should be firm, the skin should be tight and there should not be any moldy-looking areas under the skin. (If there are, don’t buy it. The garlic is already bitter.)
Preheat your oven to 350 degrees.
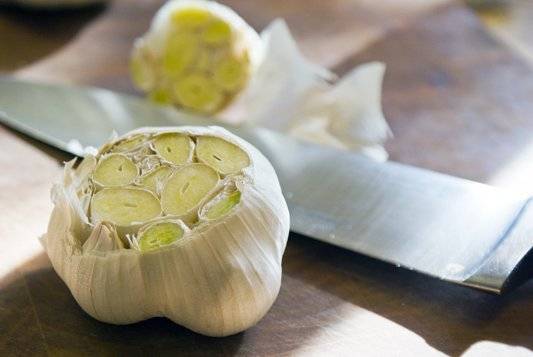
Take your carefully chosen bulb and cut the top 1/3 off. Don’t pull away the peel or clean up the bottom, it isn’t necessary. You just need to expose as many of the cloves as possible.
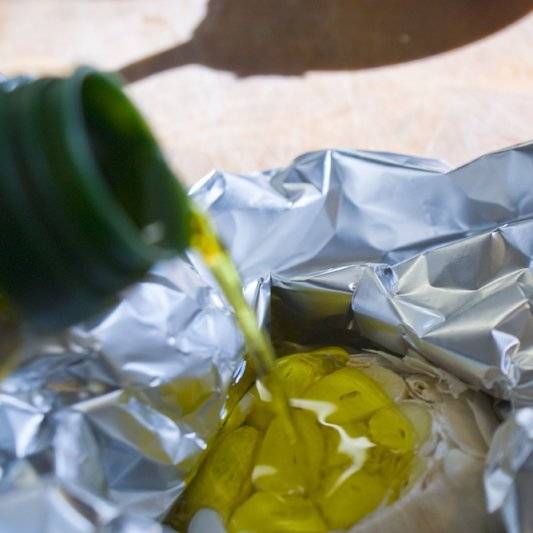
Take a piece of foil and build a little nest for your garlic. pour a bit of olive oil over the top.
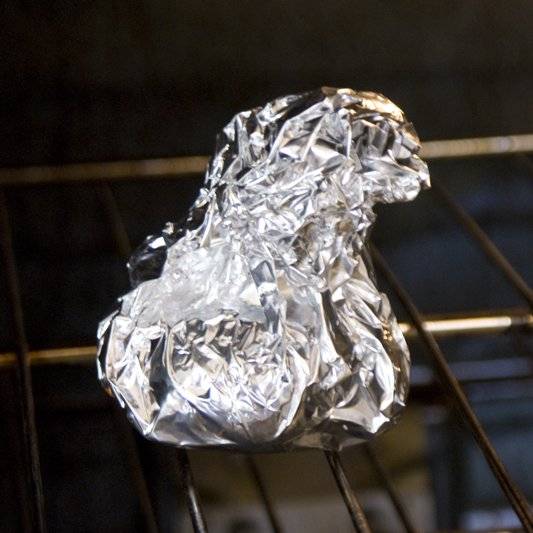
Wrap up your garlic in a tidy little bundle and place directly on the oven rack. (You can use a baking sheet if you want, but I only do so if I’m roasting a lot of garlic at once.)
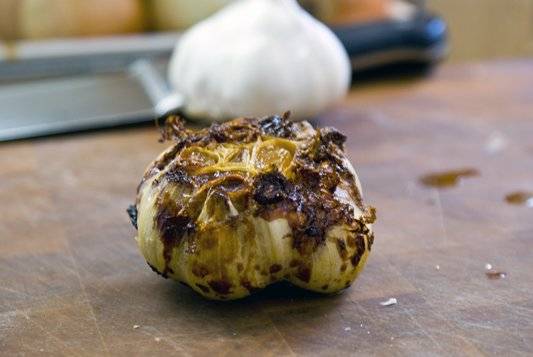
Bake for 1 to 1-1/2 hours, or until the garlic is completely caramelized. It should look just about like the picture below. You may have to check a few times before it’s finished, it will smell done long before it is.
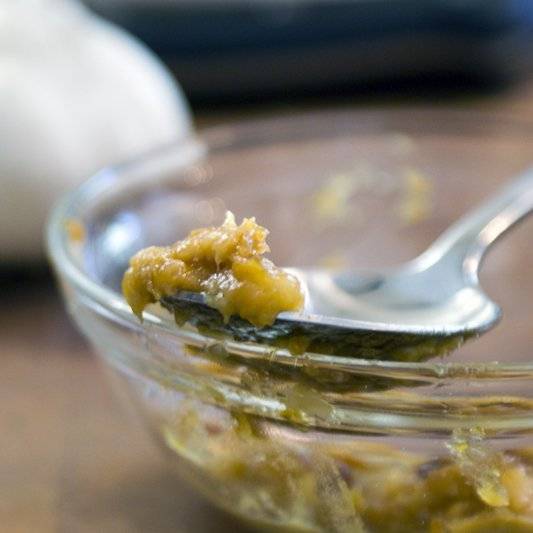
Let it cool, or use a kitchen towel like I did and just give the garlic a really good squeeze into a bowl.

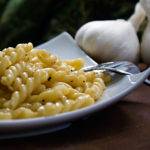
Viola! You now have the perfect addition to soups, potatoes, stews, meats, bread, noodles, sauces, or anything else you want to add an amazing boost of flavor to. And it couldn’t have been easier.
Roasted garlic can be stored for a few days in the fridge. Either just wrap the roasted bulb in foil, or squeeze Into an airtight container and cover with olive oil, so there’s no reason not to make enough for the next few days’ cooking.


")


