The simplest way to save yourself a ton of money on your grocery bill is to buy in bulk when possible. That includes meat purchases. What will save you even more money on your grocery bill is doing some of the work yourself.
In previous posts, I’ve gone over how to butcher a pork loin, how to turn a picnic ham into 7 full meals and save yourself a ton of money, and how to cut a full beef brisket into a bunch of different cuts. But today we’re going to go a different direction. We’re going to butcher a turkey.
(O.K. I know. I know. We’re not technically butchering a turkey. We’re parting a turkey, or parting out a turkey, or breaking down a turkey. It depends on who you talk to. But a lot of people have asked me how to “butcher a turkey”, so that’s what I’m calling it, okay?)
Now Then, let’s talk turkey.
For this particular job, you’re looking for a whole fresh or frozen turkey. This isn’t the time for an injected bird, a smoked turkey, or a “cook in the bag” thing. I’d say your best bet is a Honeysuckle White or a Young Tom. You can’t really expect to butcher a turkey that’s been cooked, dried, or stuffed with butter, can you?
If you’ve bought yourself a frozen bird, toss it in the fridge and let it thaw (Do not quick thaw under running water!). This can take up to 6 days depending on the size of your turkey and how cold you keep your refrigerator. Refer to the thawing instructions on the package for a rough guideline.
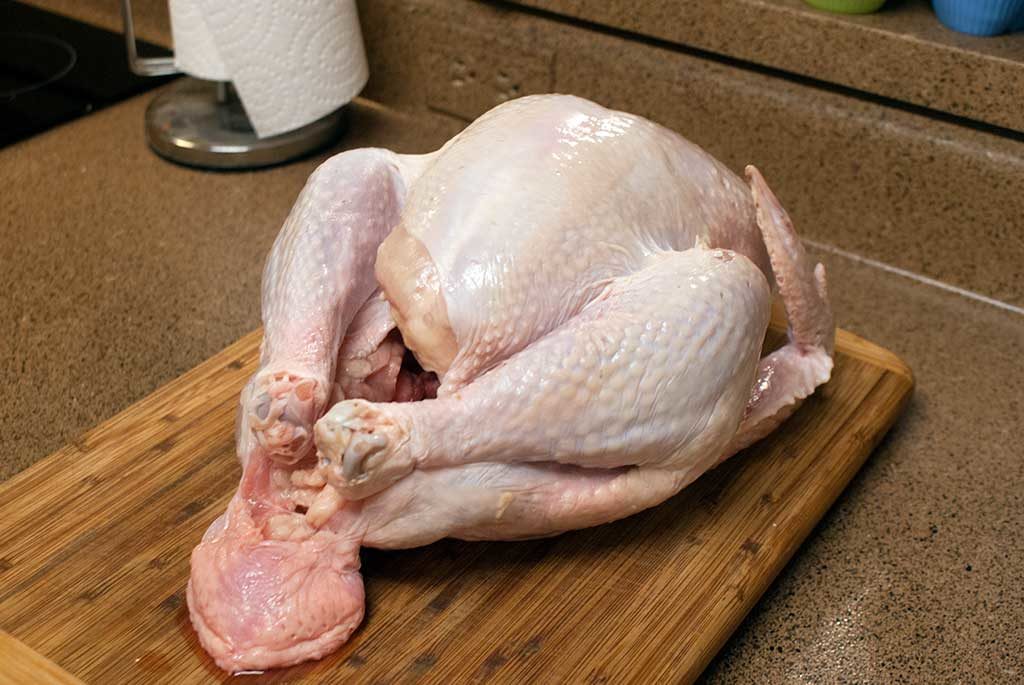
For instance, this guy came in at around 24 pounds, took 7 days to defrost, and was still ice cold. We bought it for around $0.79 per pound, so it cost around $20.00 total. Of course, prices in your area may vary, and if it’s around the Holidays, you might even be able to find better deals than this.

Now that we’ve got our bird defrosted, it’s time to get set up.
Preparation:
First; clean your counters well. Get rid of anything you don’t need on your surface and scrub it well. I usually cover mine with freezer paper while working, just so I have less clean up at the end. (In this case I skipped the paper, because this is a messy one, and I was going to have to scrub everything down at the end anyway.)
As long as you’ve got a bleach cleaner to finish up the job with, the paper isn’t necessary. You’ll also need a cutting board, so that you don’t dull your knives or scratch your counters.
Next we need to consider knives.
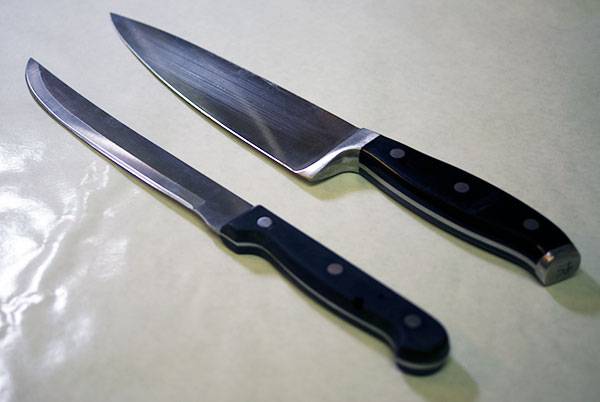
For most of my previous butchering guides, I’ve suggested a Traditional 8-Inch Slicing/Carver Knife![]() (Left). And while that will work, I’m far more partial to my J.A. Henckels 8-Inch Chef’s Knife
(Left). And while that will work, I’m far more partial to my J.A. Henckels 8-Inch Chef’s Knife![]() (Pictured on right) for this job. Parting a turkey isn’t delicate work, so you’re going to want a sturdy knife, and a good set of kitchen shears.
(Pictured on right) for this job. Parting a turkey isn’t delicate work, so you’re going to want a sturdy knife, and a good set of kitchen shears.
Let’s break down a turkey (Or butcher a turkey, or… You get it)
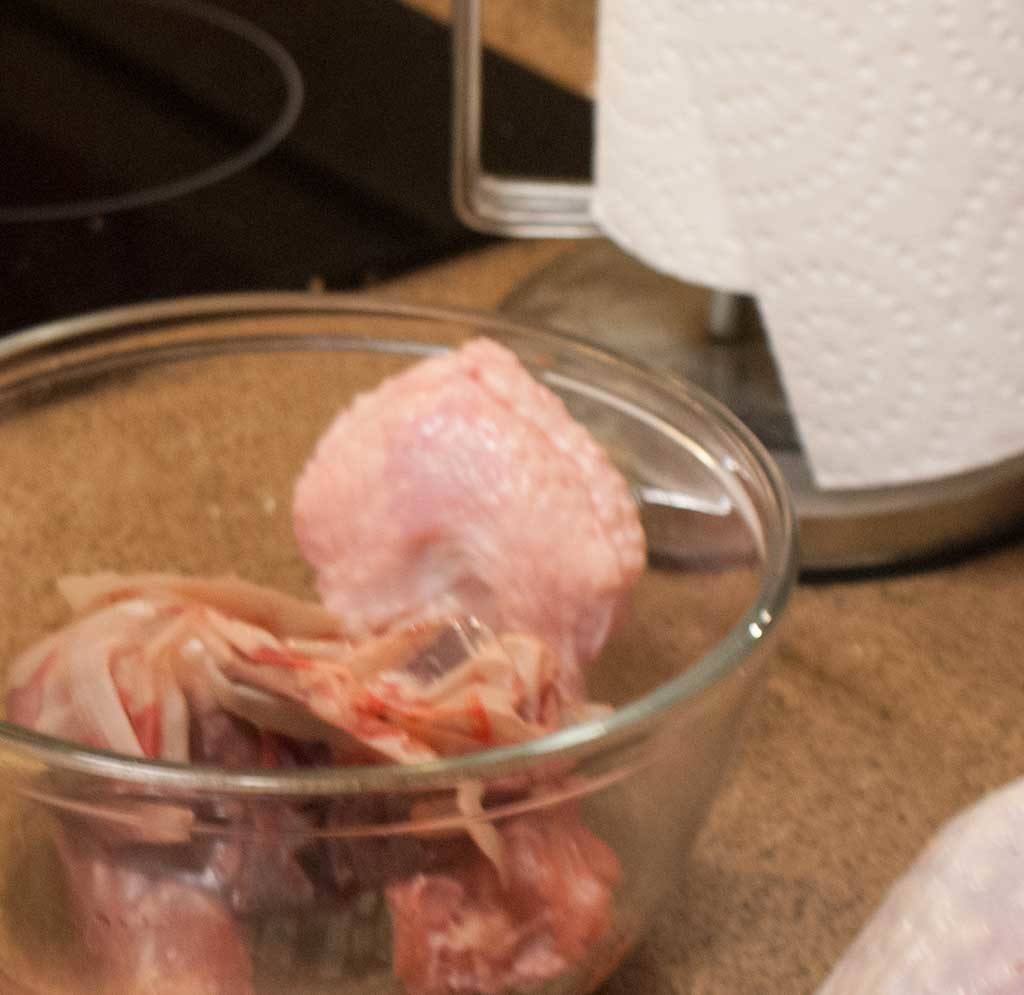
The first thing you’ll want to do is remove the neck and giblets from the cavity. Just set those in a bowl off to the side. We’ll be adding more to that bowl in just a second.
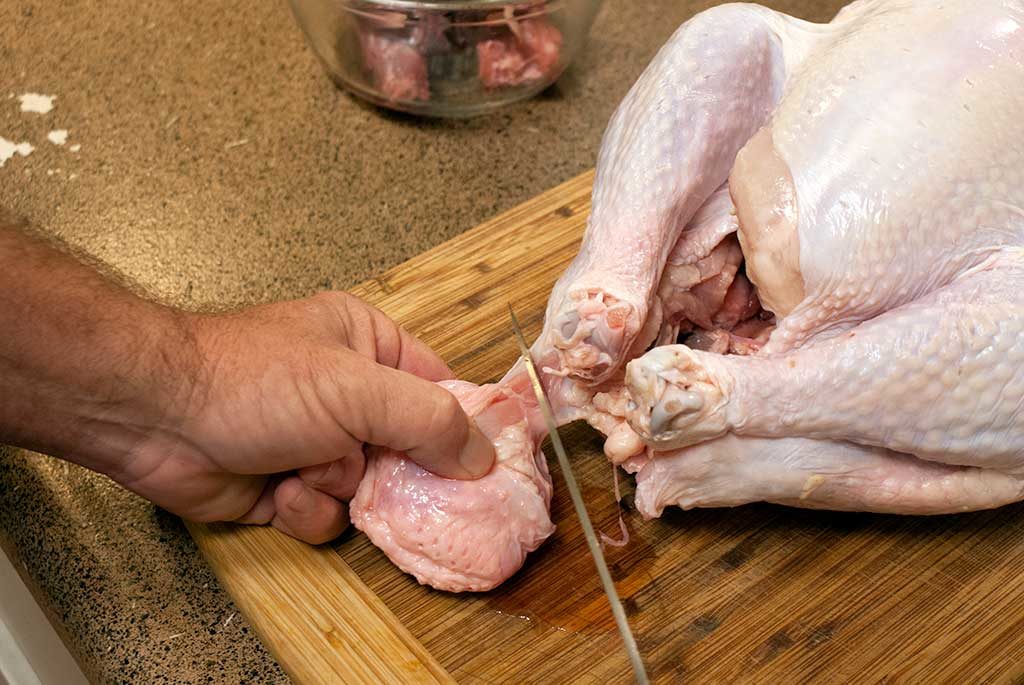
When I was younger, most of the turkeys I bought came with the tail already removed and usually packed with the giblets. Lately they’re left on. Since it can get in the way, we’ll get rid of that first.
Just a quick slice across should remove this cleanly, as it’s usually cut through the bone at the plant.
Toss that in a bowl with the giblets and the neck. (Make sure the bowl is as blurry as possible. I hear this helps. Don’t ask, this was the best shot I had of the parts bowl.)
Next, we’ll remove the wings.
Whether you’re butchering a turkey, a chicken, or a Cornish hen, this will make removing the legs easier.
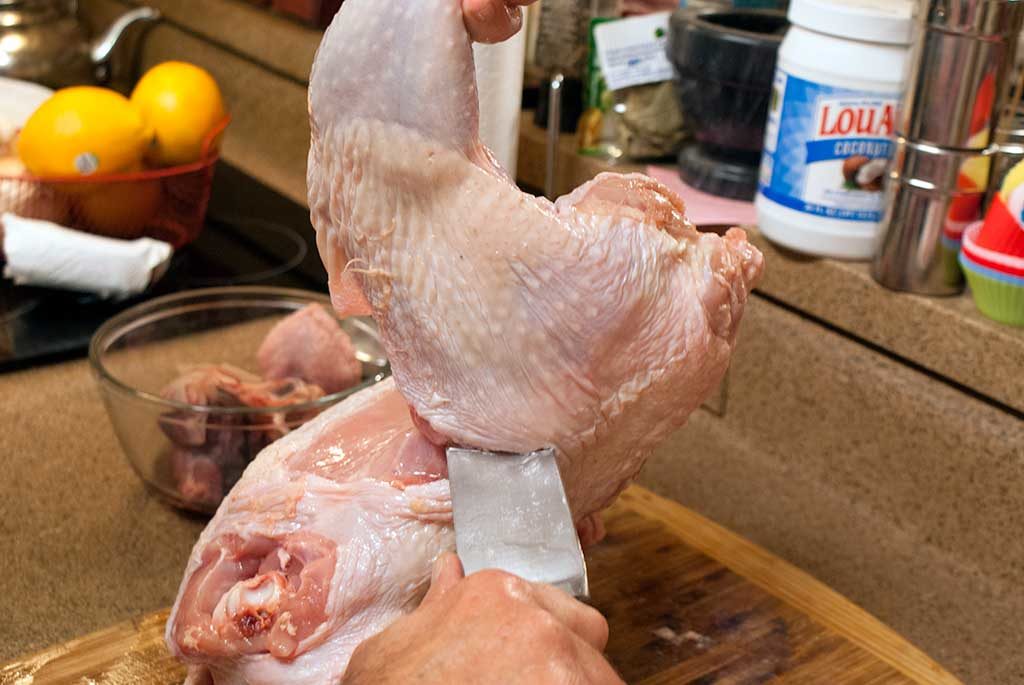
Flip the turkey on its side, lift up on the wing, and you should be able to see where the wing joint meets the breast. Just slip your knife in the middle and slice. Gravity will do almost all the work for you.
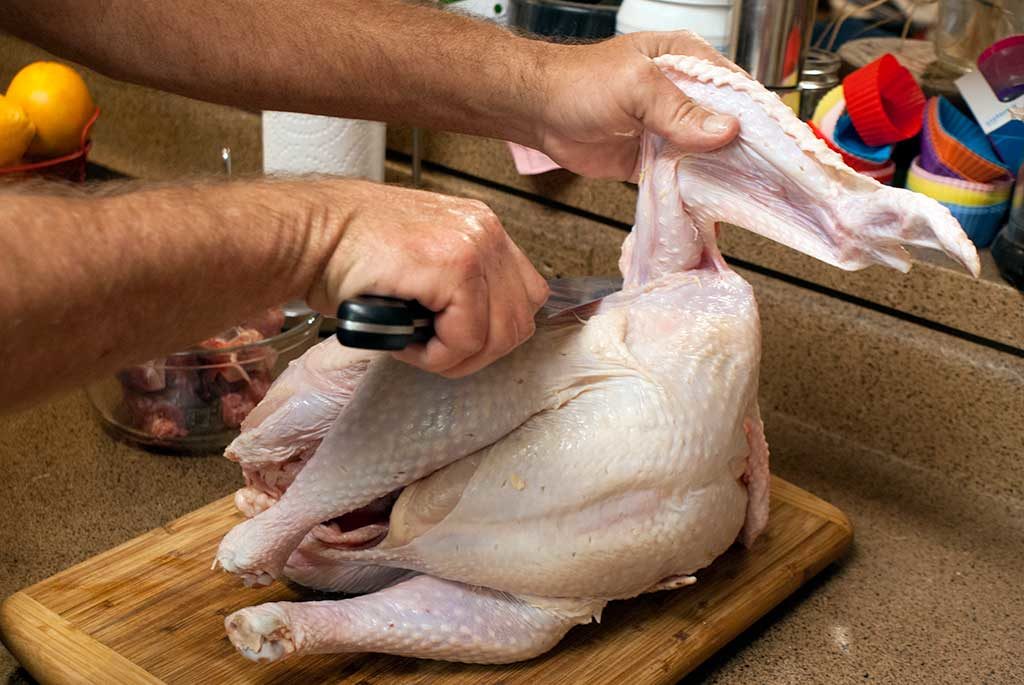
You can bend back the wing a little the first few times you do this if you’re less than confident. Just try not to slice into the breast meat.
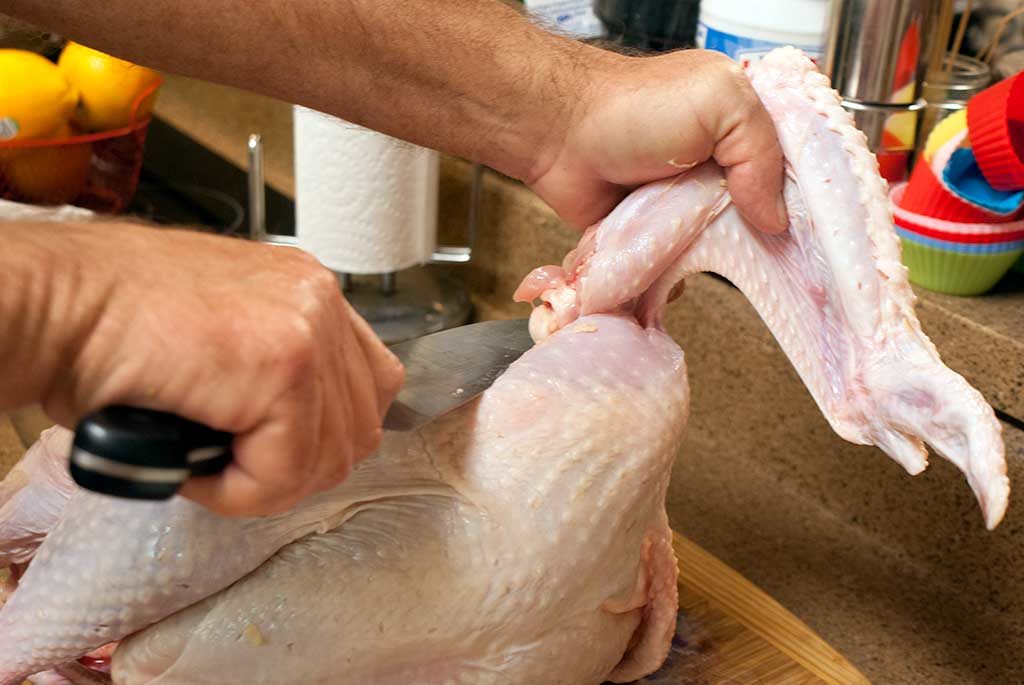
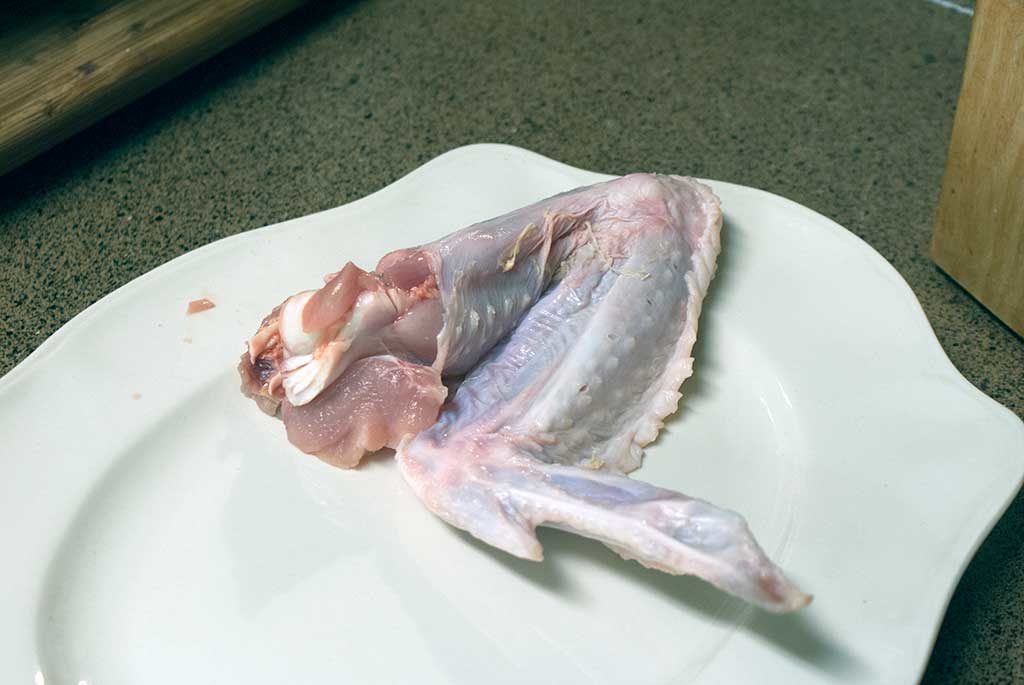
Boom. One wing down. One to go.
Just flip the bird over and repeat.
Now on to the legs and thighs.
You might think this step is daunting, but it really isn’t.
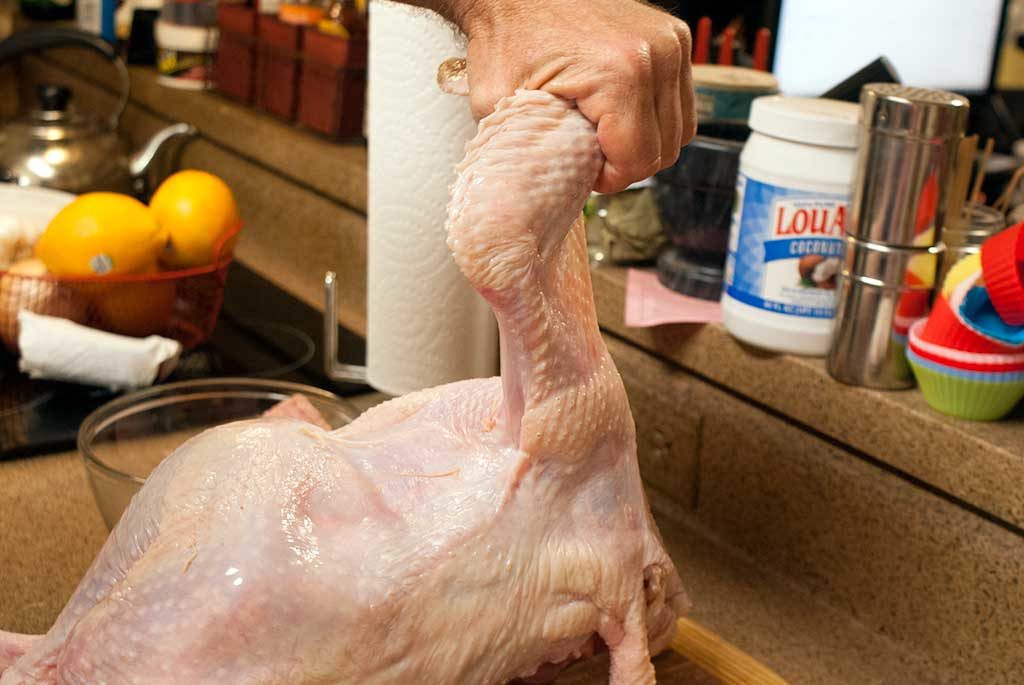
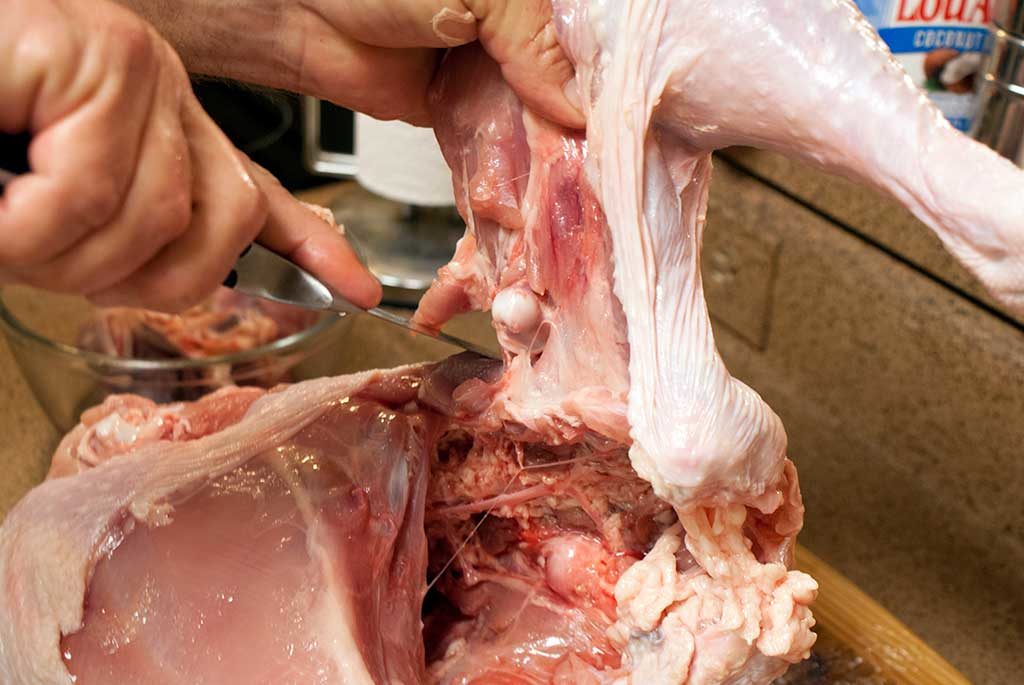
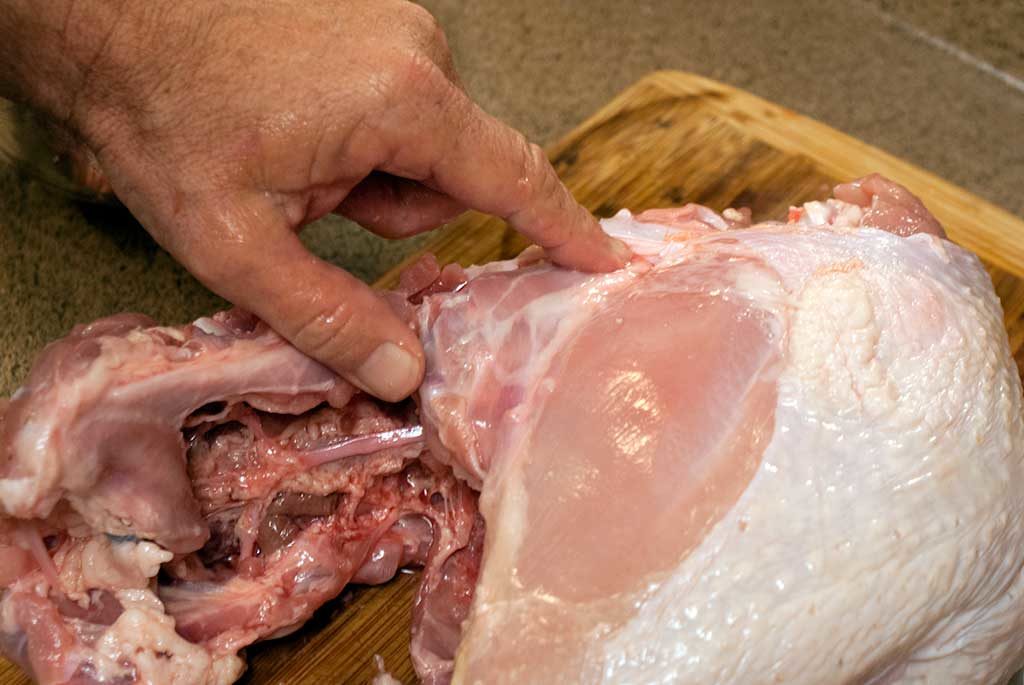
Flip the turkey around so that the legs face away from you. Firmly grasp the drumstick and pull it back and away from the bird. You can see where the thigh and the breast pull away from each other.
Give the skin between the breast and the thigh a gentle slice. This will expose the muscles and the joint. Just let the knife follow the natural gaps in the muscle.
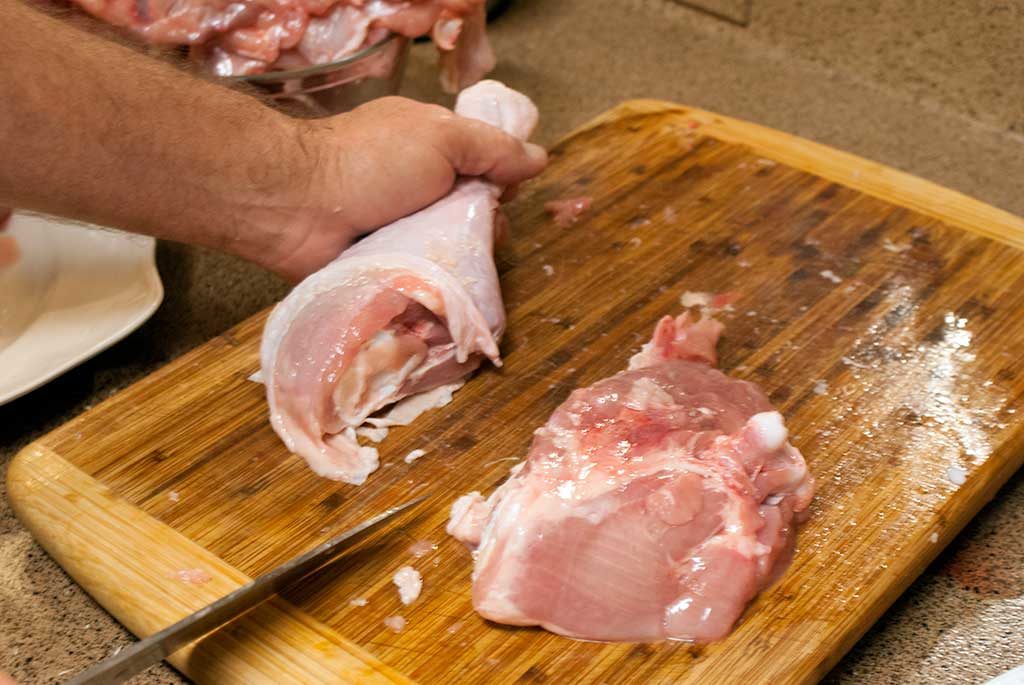
Finding the thigh joint can be a bit trickier. Bend the thigh firmly away from the carcass until the joint pops loose. At this point you should be able to see it clearly and move the thigh freely.
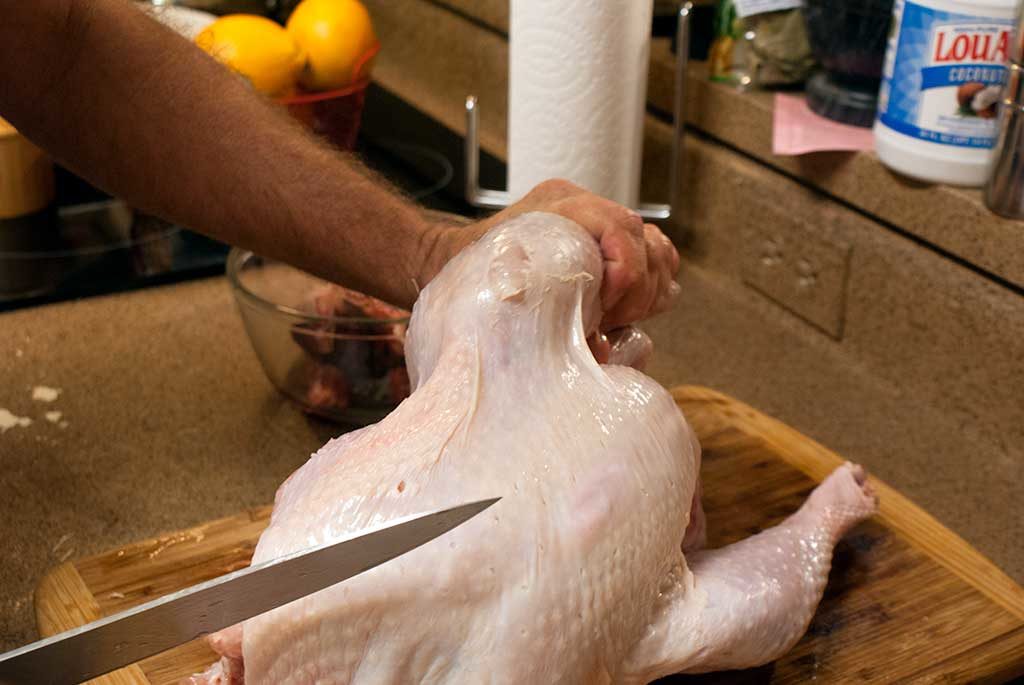
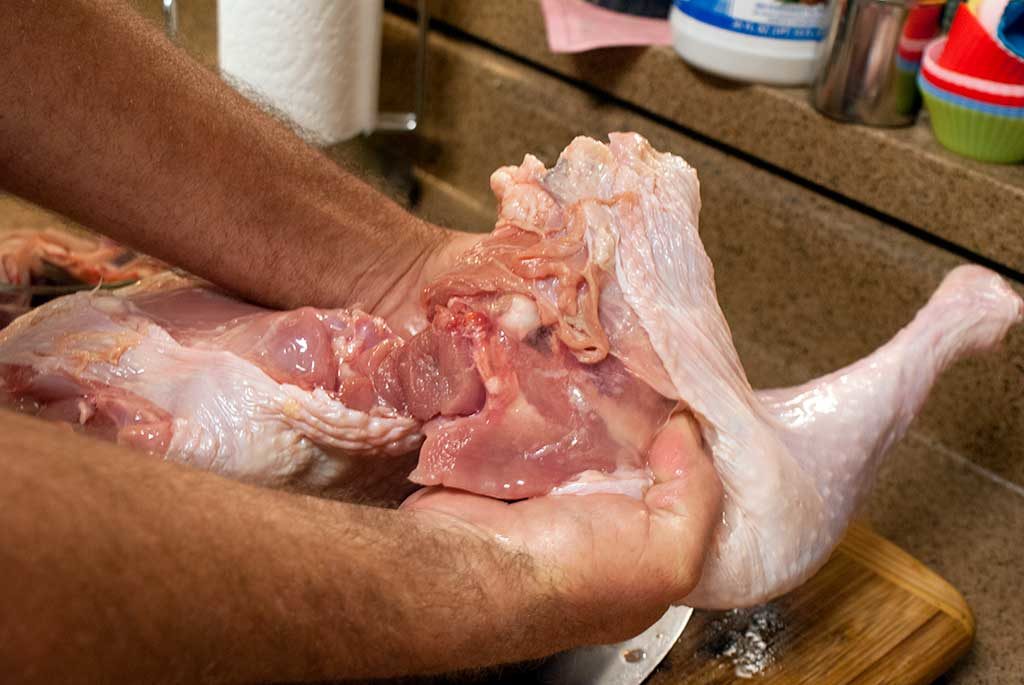
Again, we’re going to let gravity do most of the work for us. Just pull up on the leg to expose the joint, and carefully slice along the backbone, through the joint, and out the other side.
There you have it. A perfectly broken down turkey leg quarter.

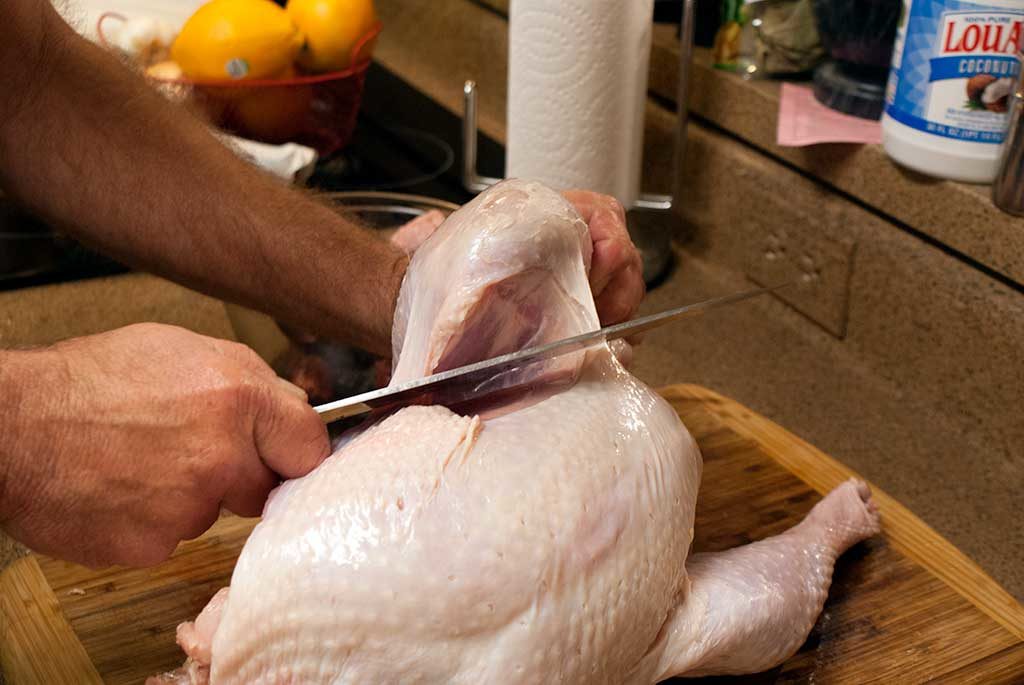
In case you had trouble visualizing this cut, I’ll show you from the other side. Pull up on the leg and give a quick slice along the natural muscle separation between the breast and the backbone.
Pop the joint loose, then slice through. Done.
Time to butcher a turkey breast
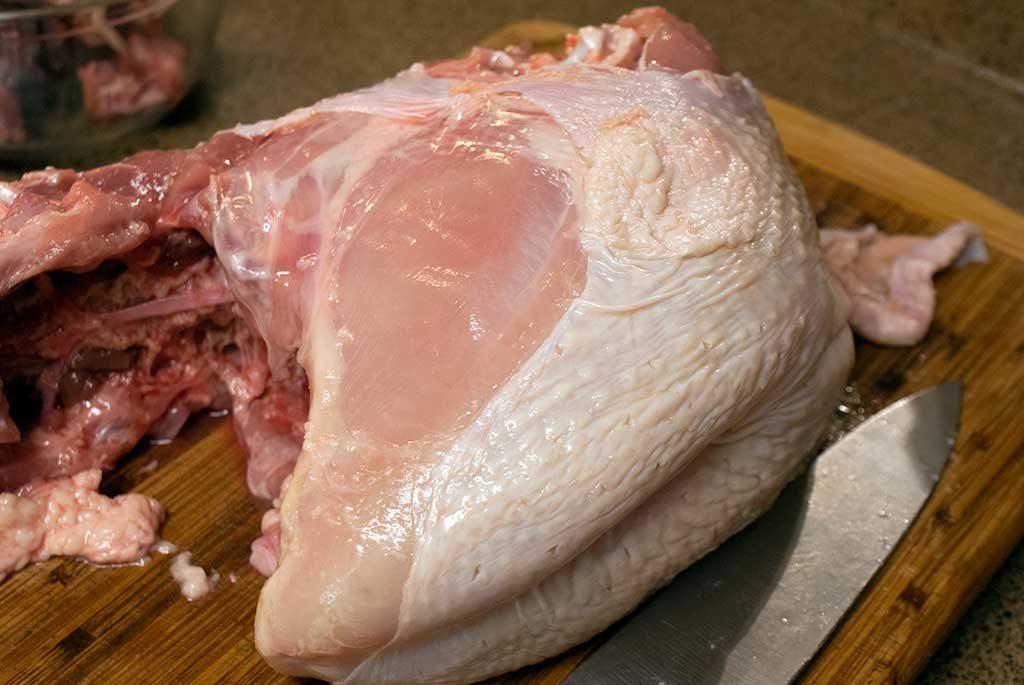
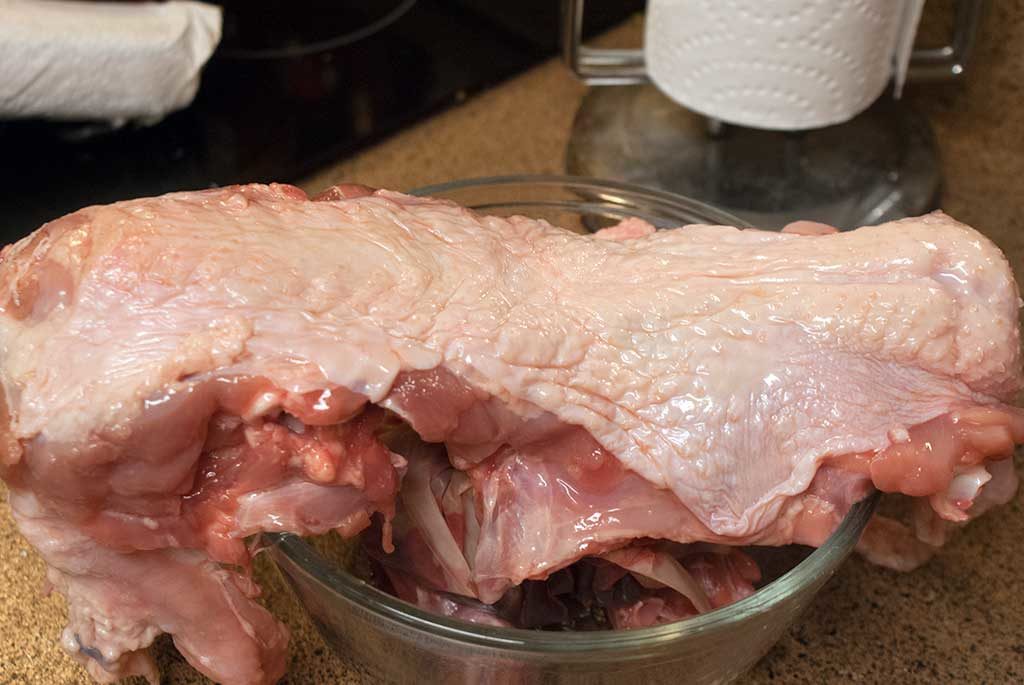
What we’re left with now is a gorgeous full turkey breast that’s still attached to the ribs and backbone.
There are three ways we can address this, depending on what your intended application is.
- Simply remove the backbone and leave the breast whole and attached to the rib meat. (This is the way you’ll usually find whole turkey breasts sold in the grocery store.)
- Remove the backbone and cut the breast in half, leaving the rib meat attached. (Great for grilling or roasting.)
- Just cut the breast meat away from the carcass and call it good. (Good for further processing, and a lot quicker.)
Since I’m not sure which cut you prefer, we’re going to walk through the steps you’ll need for any of these three cuts.
Removing the backbone:
Removing the backbone from a turkey isn’t hard.
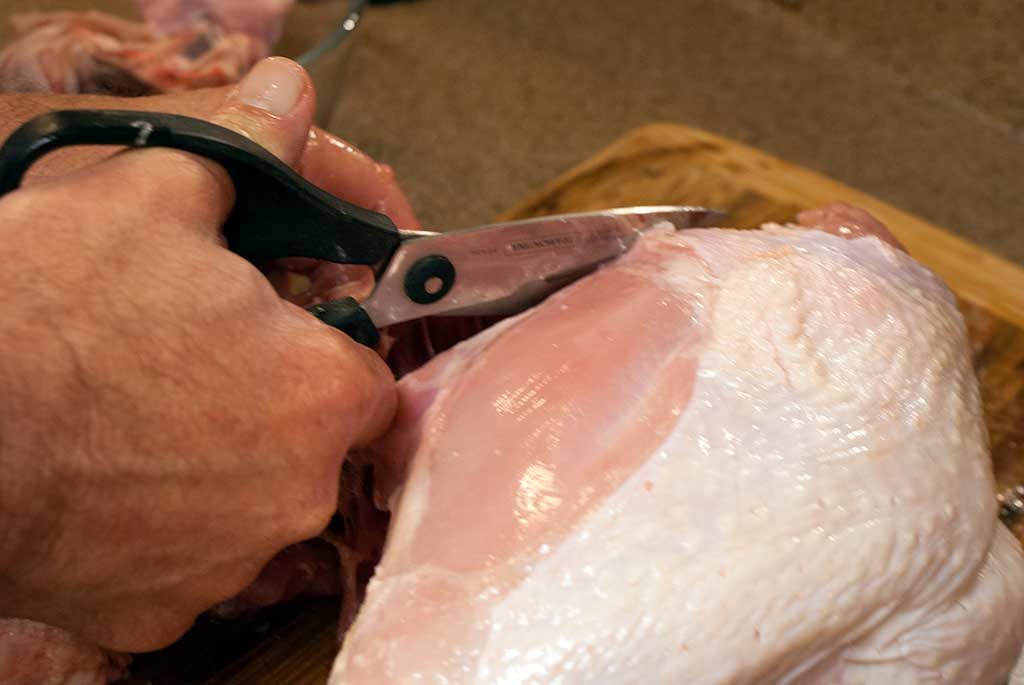
Look along the side of the breast and you’ll see a nice, straight white line of fat and connective tissue. That’s where you cut.
Just break out those kitchen shears and follow along the line until you get to the wing joint.
Repeat on the other side.

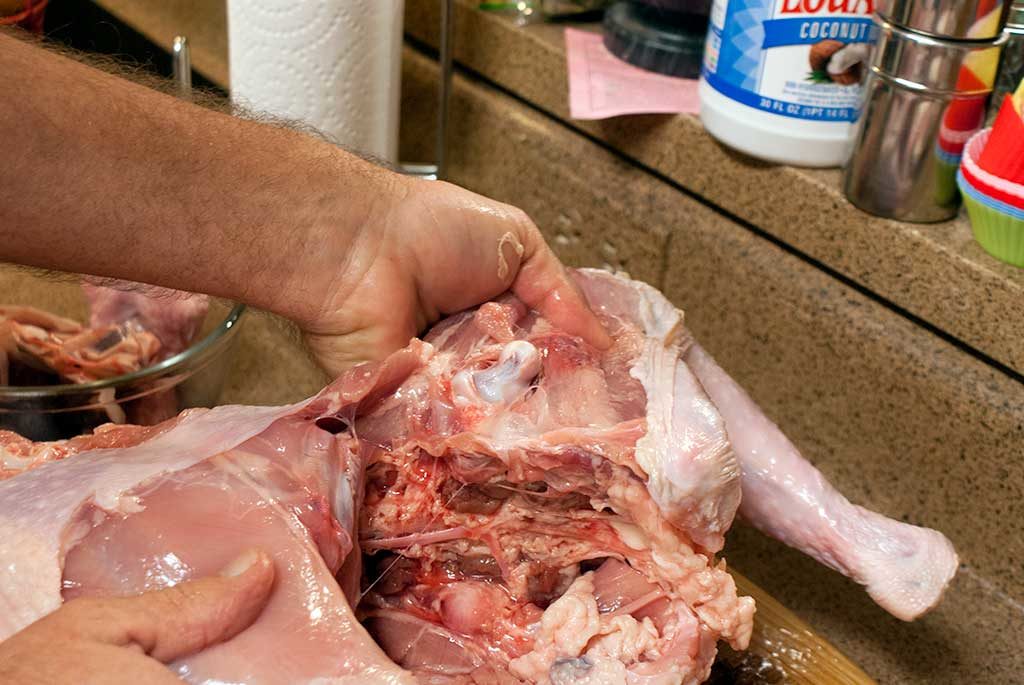
Carefully pry the breast up to pop the front loose. (Careful, those bones are sharp!)
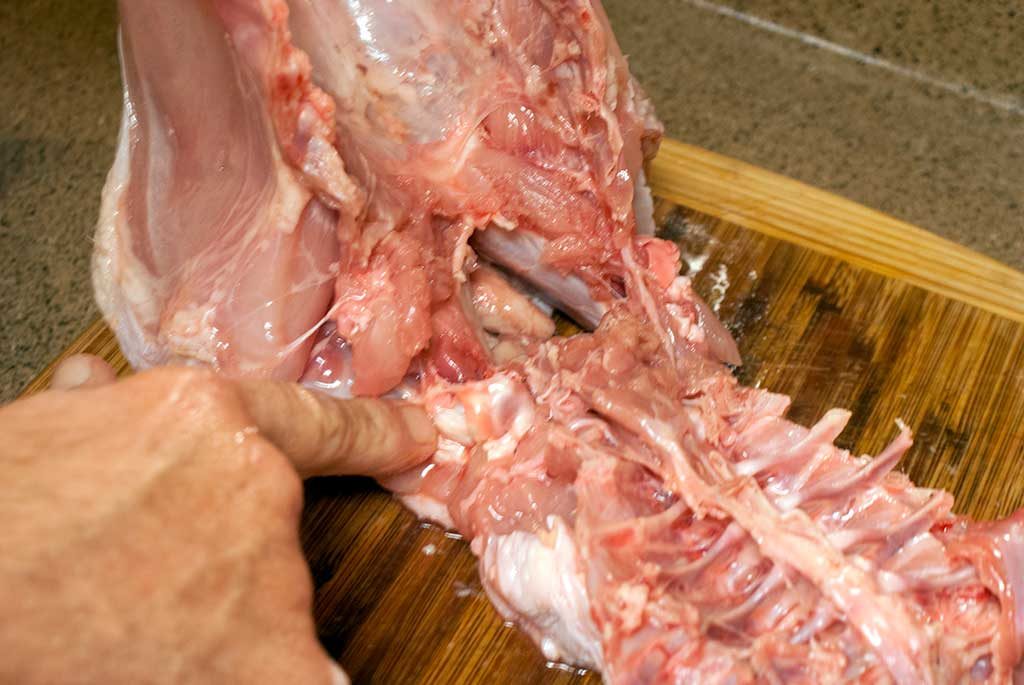
Then cut through the wing joints, and the backbone should fall away.
Toss that over with the giblets and the tail.
If you want a whole breast to roast, you’re done. If you want two half-breasts on the bone, just flip the breast over and cut in half from the back side. If you want boneless turkey breasts, then follow along.
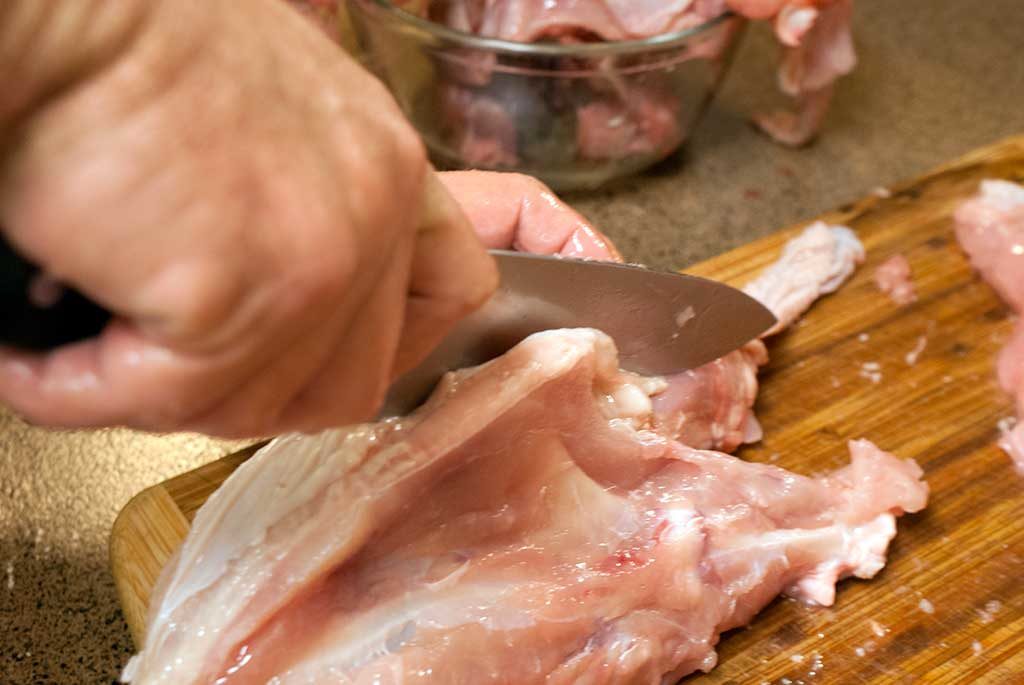
Find the keel bone (The bone running down the middle of the breast.) lay your knife against it and gently cut along the bone from the front to the back.
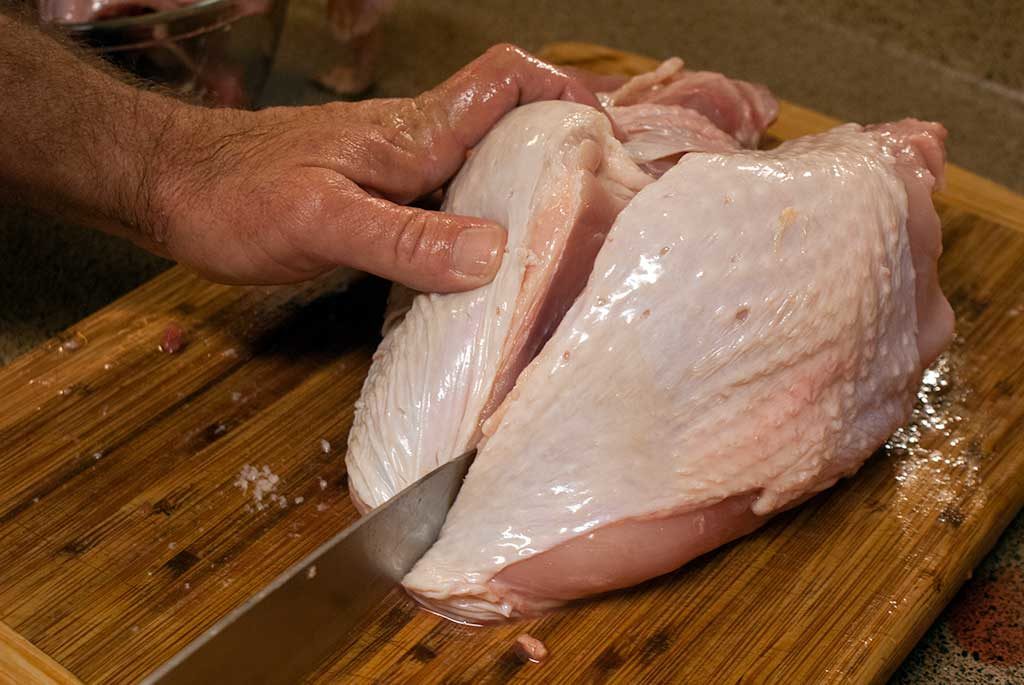
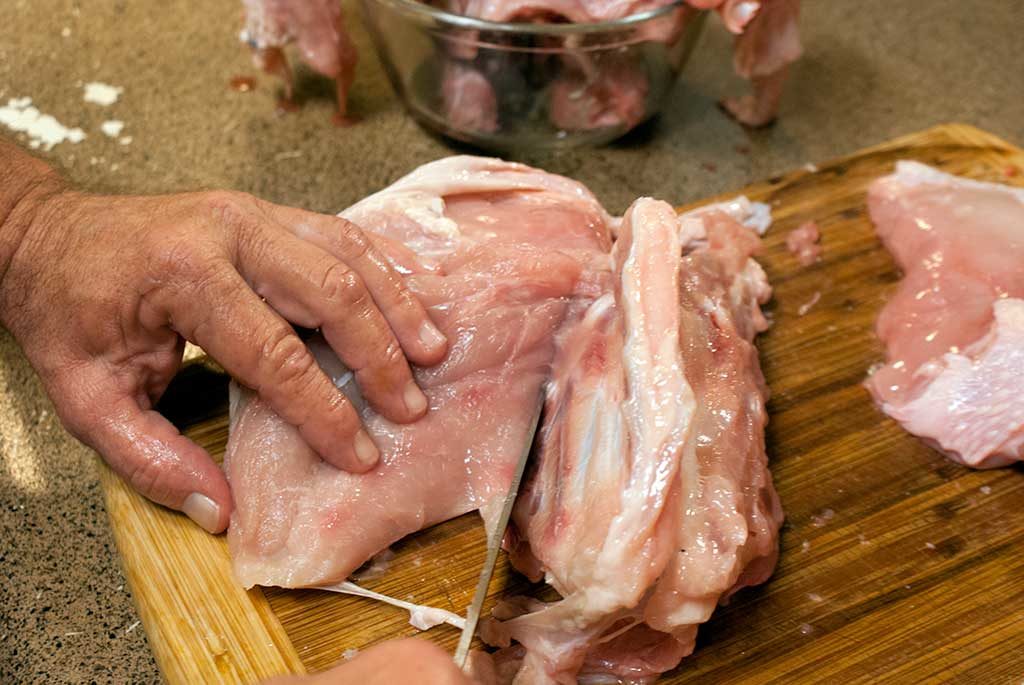
Let the ribs guide the knife and you’ll end up with a perfect half breast.
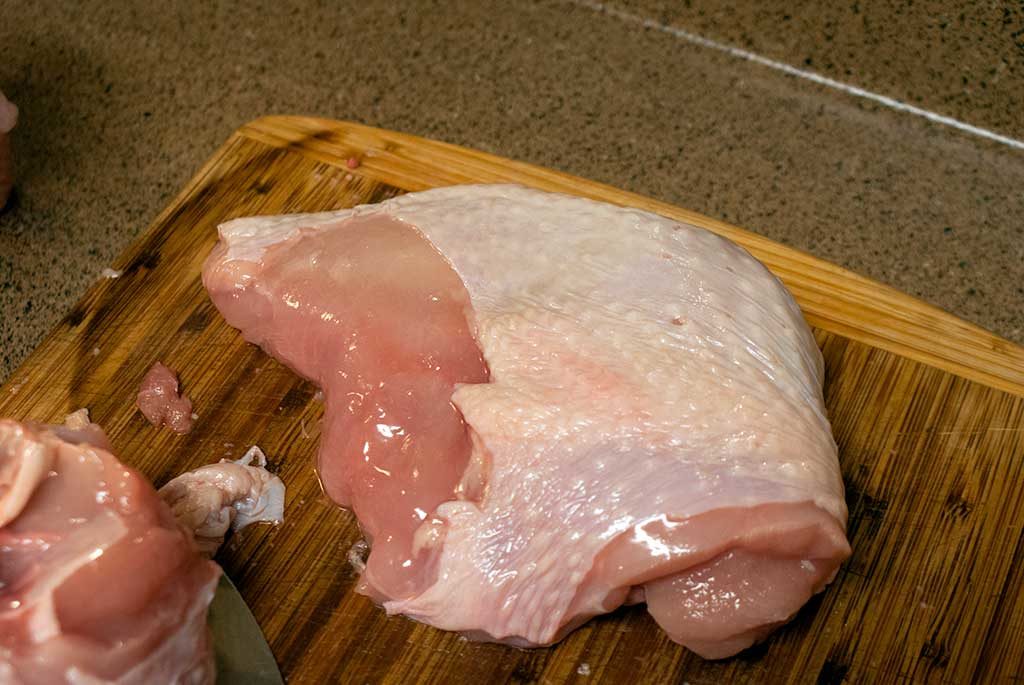
See. Perfect.
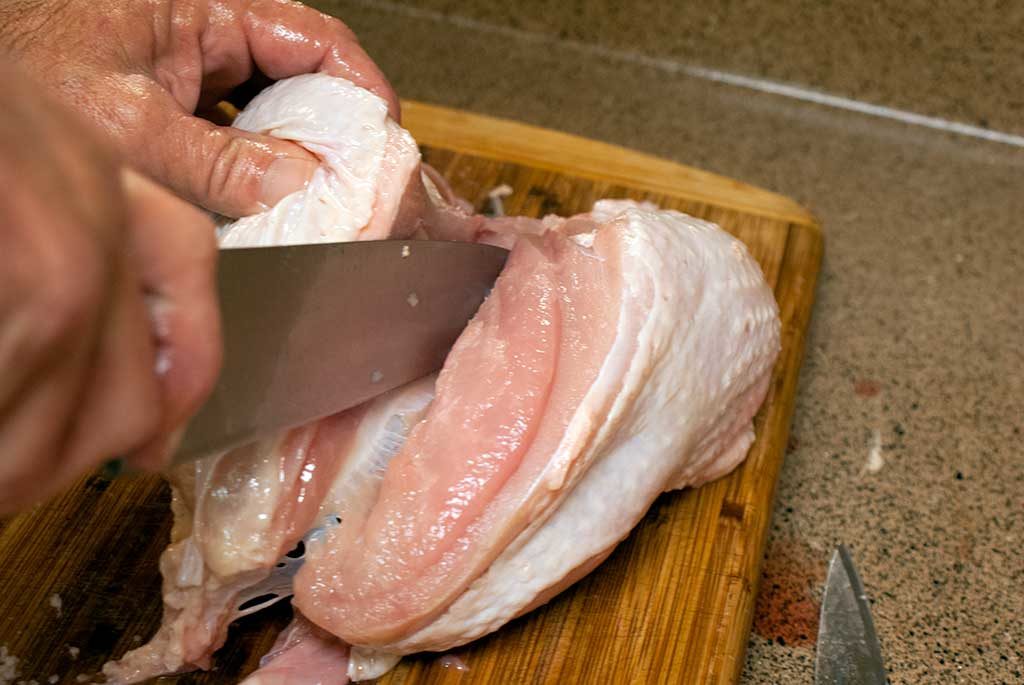
Repeat for the other side.
Just go slowly and let the bones show you where to cut.
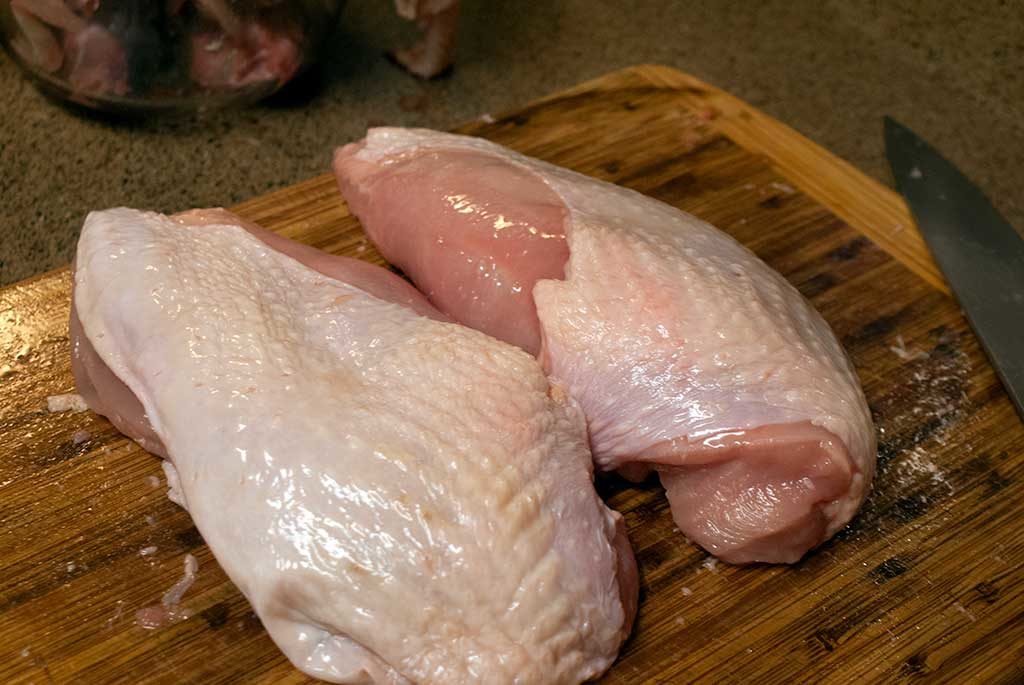
Two boneless turkey breast halves. Ready to go.
Parting the legs and thighs:
Now if this was a chicken, I’d probably stop here, because we love leg quarters. (Seriously. I’ve got several recipes for them already, and more are coming.) But a turkey leg quarter is more than enough meat for two meals in my house, and I’m sure a lot of you want to get to those legs on their own.
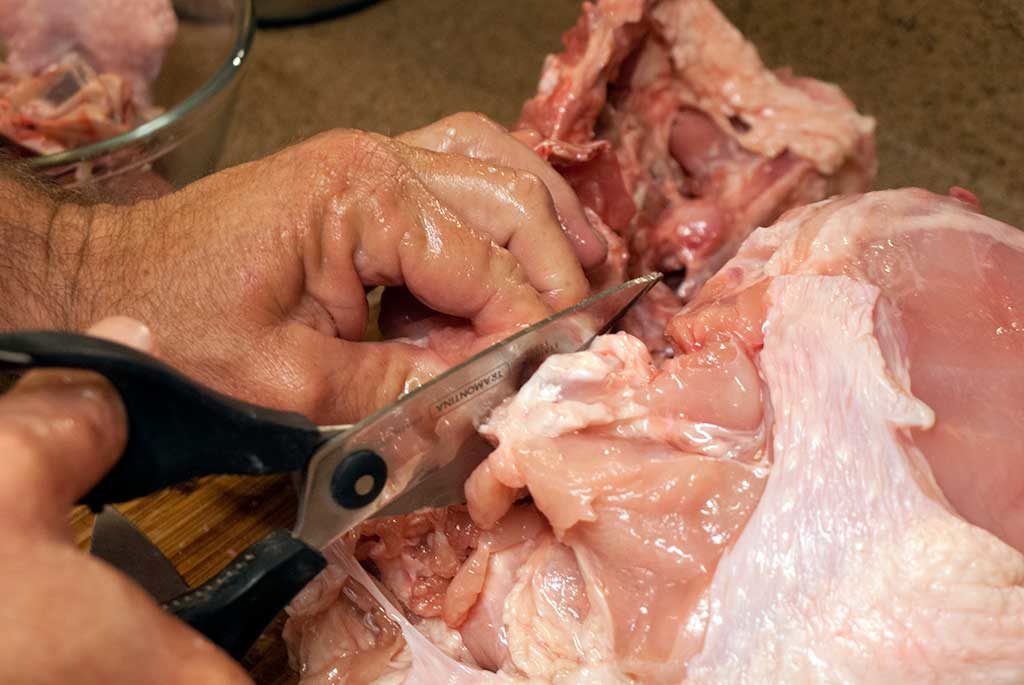
Place the leg quarter skin side down. Remember when we looked for the white line running along the ribs? We’re going to do the same thing here.
Find the line running between the leg and the thigh.
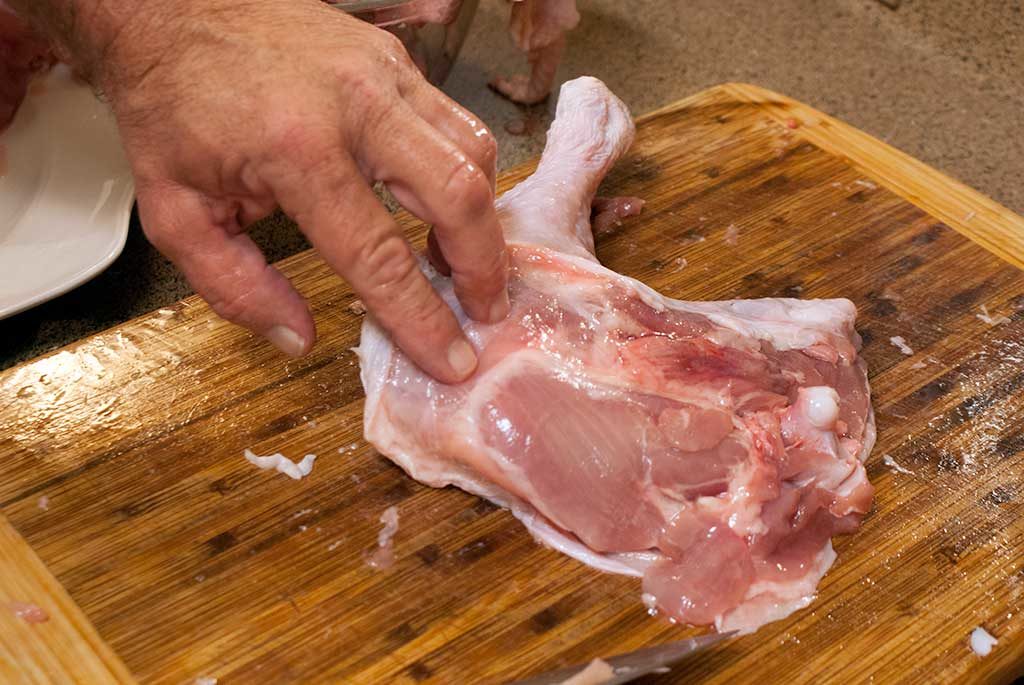
One firm cut should separate the two parts.
(Yes, it’s really that easy.)
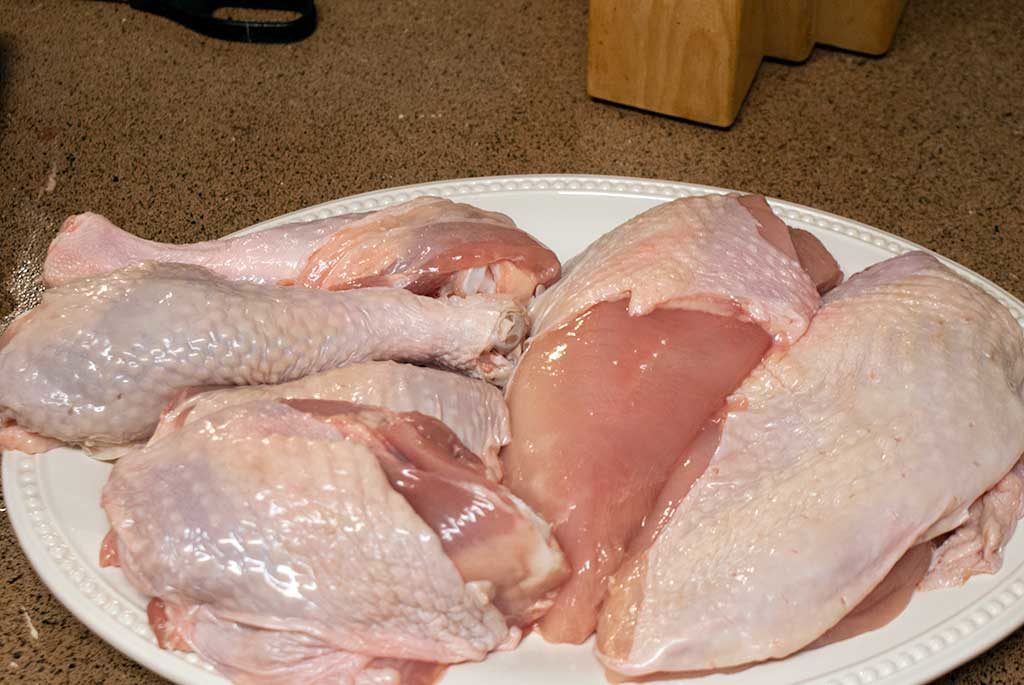
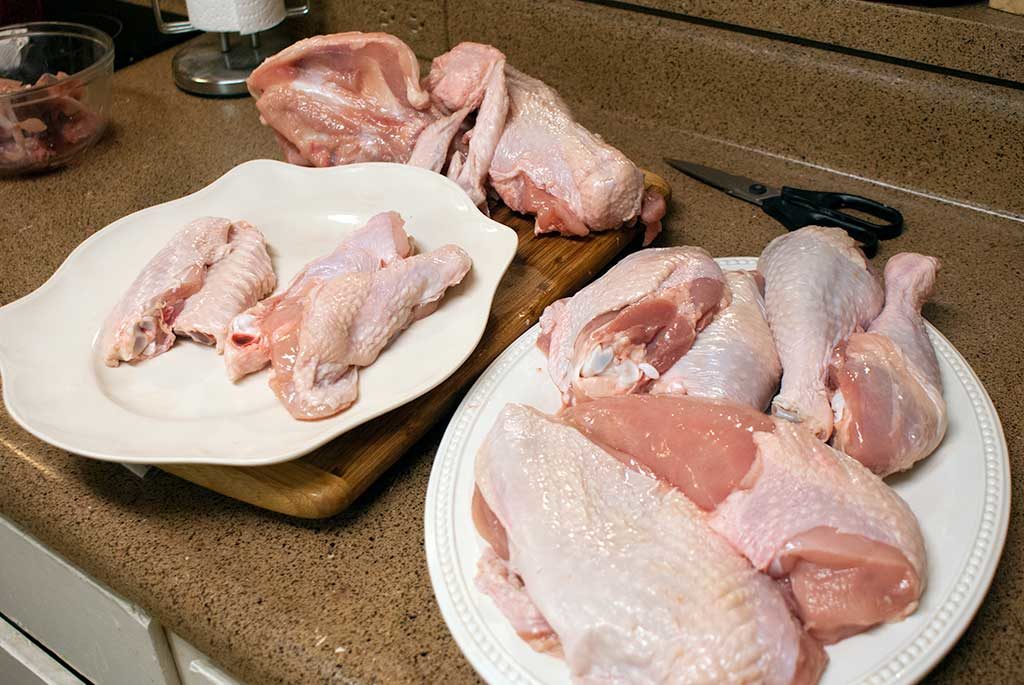
At this point our foray into how to butcher a turkey (Or part a turkey, or break down a turkey…) has given us the usual suspects. Two breasts, two thighs, two drumsticks, and two wings.
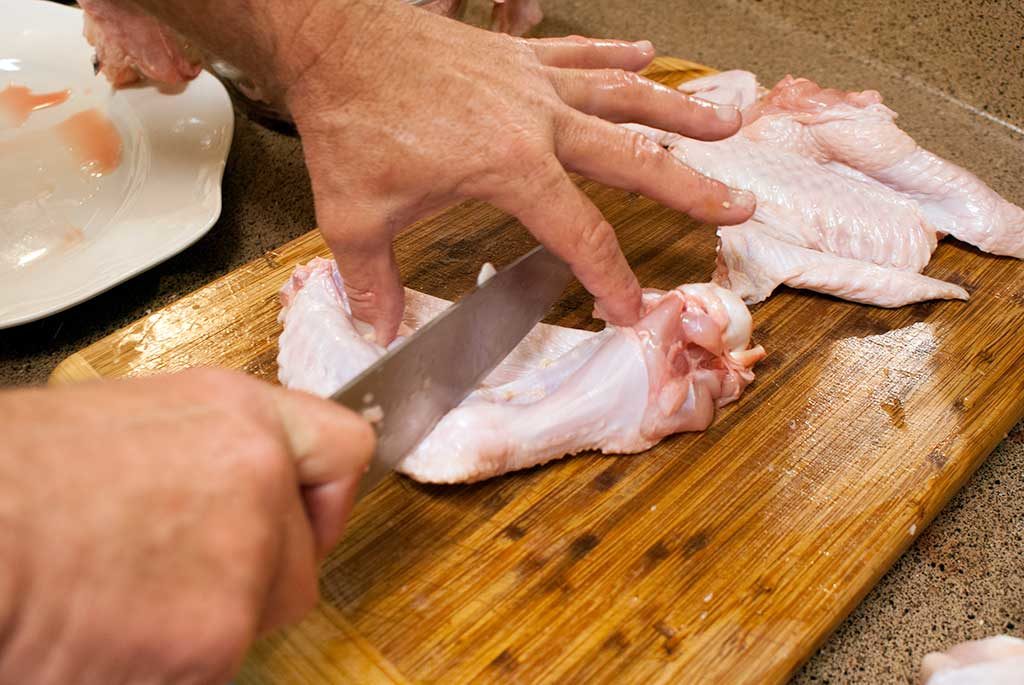
But why stop here? Let’s look at those wings.
There’s not much going for them, but they’re too big to just toss in a turkey stock.
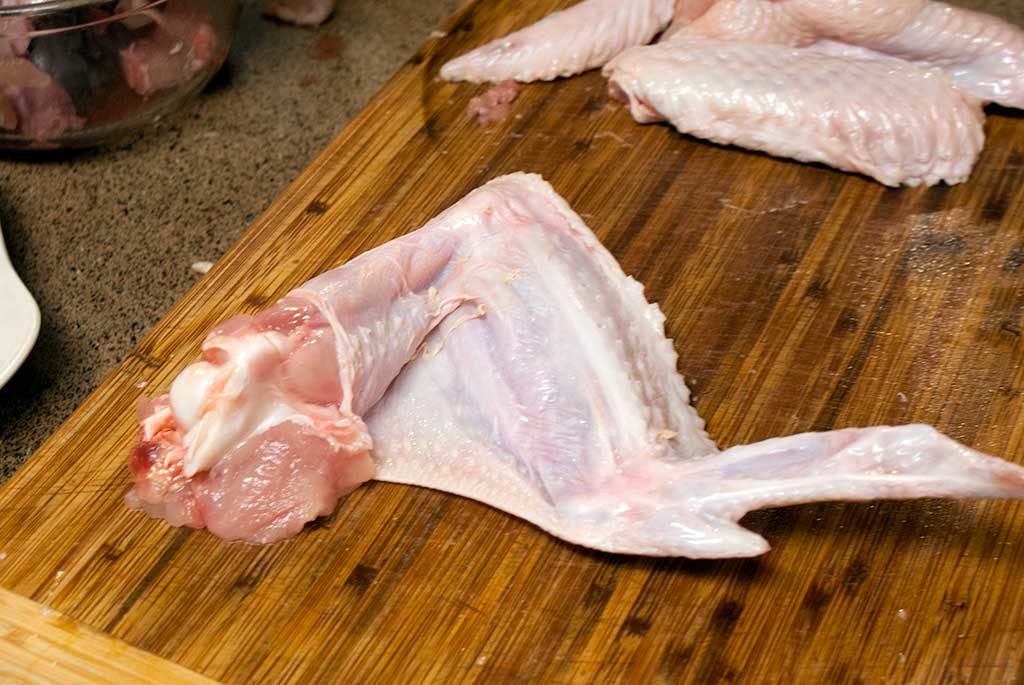
The tips aren’t very good for eating, so those go with the rest of the carcass.
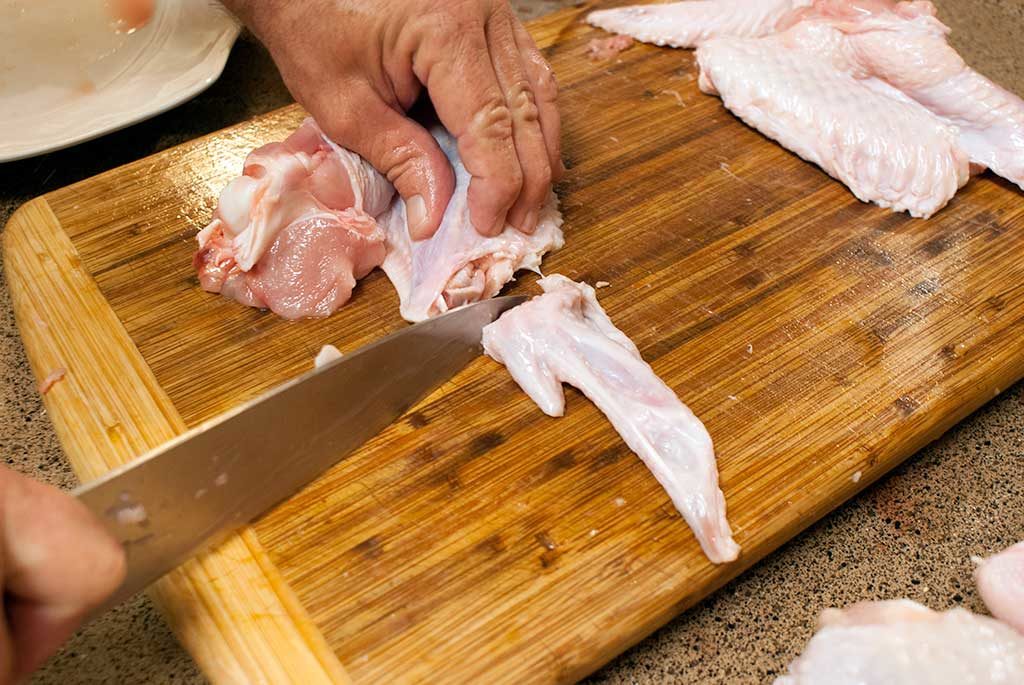
Then just cut between the joint to separate the halves of he wing.
That’s it. You’ve broken down a turkey
I know I said this could be five full meals, but I could probably get at least 8 meals out of this bird for a family of 4. The breasts are easily 2 meals each if used in a stir fry, and the stock we’ll make from the leftovers will probably end up in over 6 meals of its own.
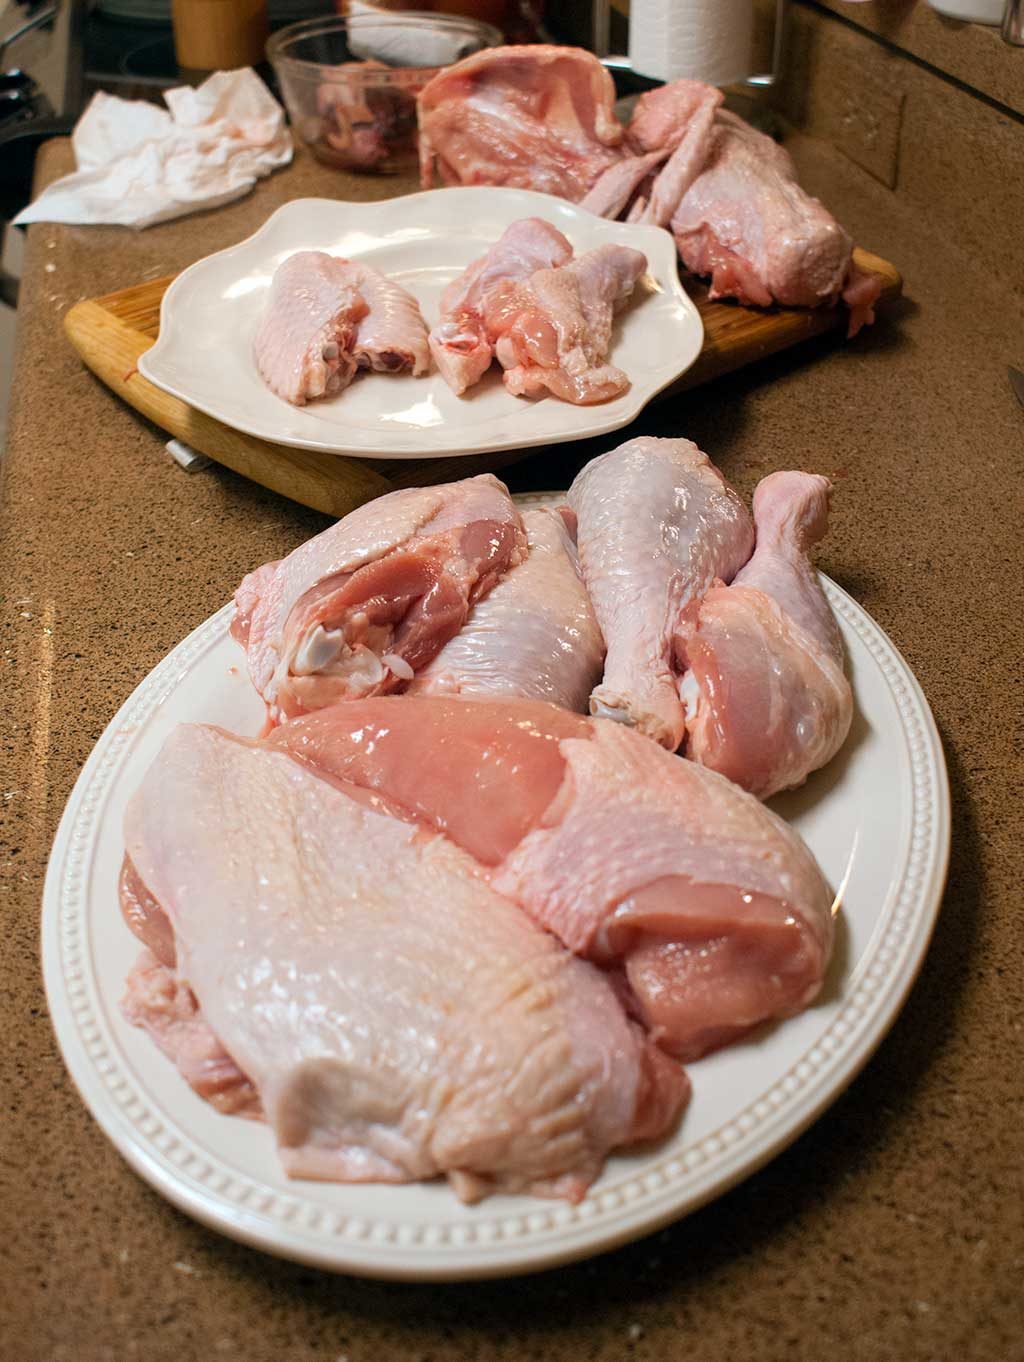
What we got from butchering a whole turkey at $20.00
- 2 full turkey half-breasts
- 2 turkey drumsticks
- 2 turkey thighs
- 4 turkey wing sections
- A full carcass, including neck and giblets for turkey stock, soup, and gravy.
I dare you to buy this prepackaged in any major supermarket for around $20.00.
Also, you’re going to feel a crazy sense of accomplishment! Seriously, you can tell your friends that you butcher a turkey you got on sale, toss that bad boy in the freezer, and you saved a ton of money.
And now to you:
Did you find this post on helpful? If so, would you like to see more like it? (We have several posts like this already.)
Or do you regularly buy primal cuts and have a different way of butchering them?
When you think of cutting down a bird like this, do you “butcher a turkey”, “part a turkey”, or “break down a turkey”? I’d really like to know what you call the process in your neck of the woods.
Either way, we’d love to know. Leave a message in the comments or on Facebook. Let us know your experiences. (And if you’re a professional butcher, tell me what I did wrong. I don’t mind.)
Until next time.
Food is love. Share and enjoy!


")


