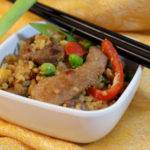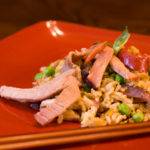
My family loves rice. And I mean loves it. My son’s favorite dish is something we call “Rice and Goop”, which is basically rice covered in sausage or beef gravy. For me, it’s fried rice or spam musubi. My wife will take rice in just about any form, but if given a choice, she prefers onigiri.
It’s very likely that the first thing that comes to mind when someone mentions Japanese food is sushi, but it shouldn’t be. Rice is the main part of every meal in Japan and is so ingrained in the culture that the word “gohan” means both rice and meal. Rice IS the meal, everything else goes with the rice, not the other way around.
So it stands to reason that in a culture where rice is king, they would find a way to make it portable when on-the-go or working. Their answer is onigiri, otherwise known as omusubi, or just “rice balls”
In their most basic form, onigiri are just balls of rice pressed together and often wrapped in dried nori seaweed or perilla leaves to keep them fresh. More popular however, are stuffed (or filled) onigiri.
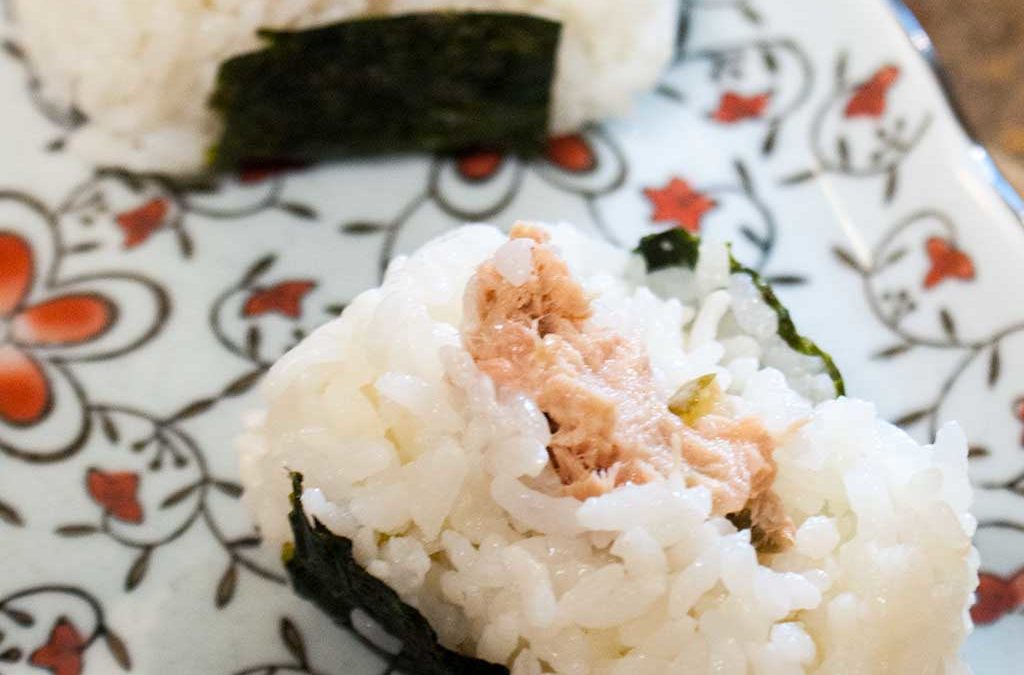
What can you stuff your rice balls with? Just about anything, really. Traditional onigiri are stuffed with umeboshi, a Japanese pickled plum. This both seasons the rice ball and helps to keep it fresh. But recently you’ll find recipes for onigiri stuffed with everything from cod roe, pork, shrimp, dried fish, or dressed fish. In the case of this recipe, that’s tuna dressed in mayonnaise.
Yeah, these are basically tuna sandwiches that use rice instead of bread. And it’s a good thing. A very, very good thing.
(*Note: I’m using an onigiri press here, because a. I’m not good at hand-forming onigiri and b. I’m lazy and this is faster. If you’d like to form your onigiri by hand, there’s a link to a video tutorial after the recipe.)
Let’s make some Onigiri!
First off, you’ll have to cook some short or medium grain rice. Long grain rice just isn’t sticky enough to work for this dish. But avoid buying sticky rice, which is sweet, and more for desserts than for savory foods like onigiri. I recommend Nishiki medium grain rice for this, and for just about every other rice dish I cook.
Once your rice is cooked, transfer it to a bowl and fluff it with a fork or a rice paddle. You want it to be warm, but not so hot you can’t handle it.
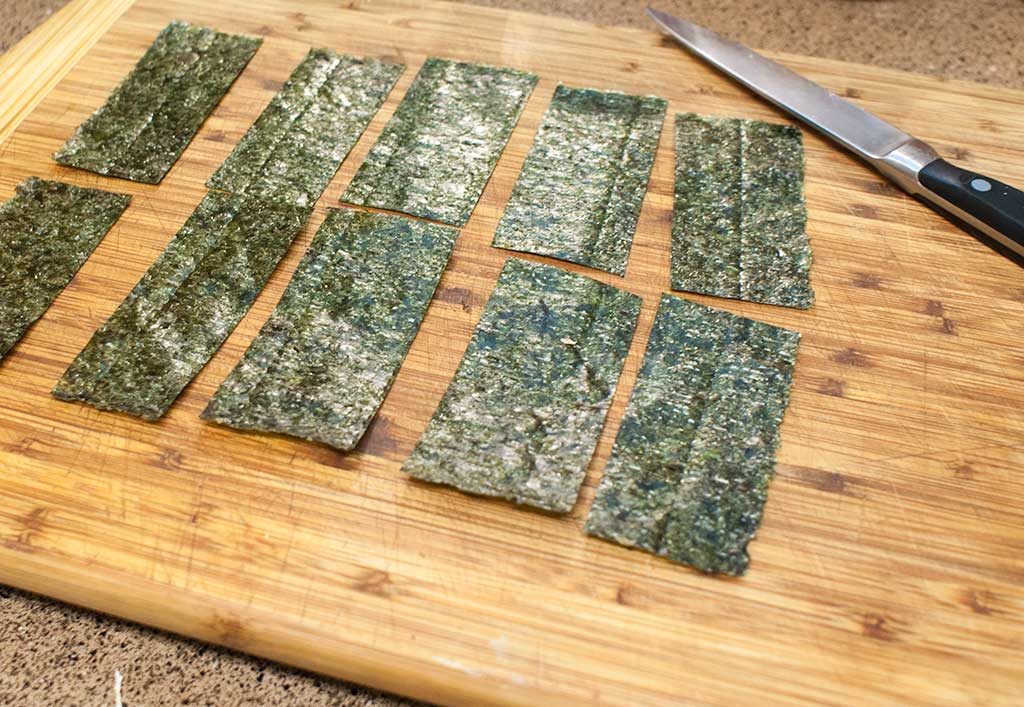
Next, cut a sheet or two of sushi nori into strips and set them aside. (The strips can be as wide or thin as you’d like them, or can be omitted altogether if you prefer not to use them.)
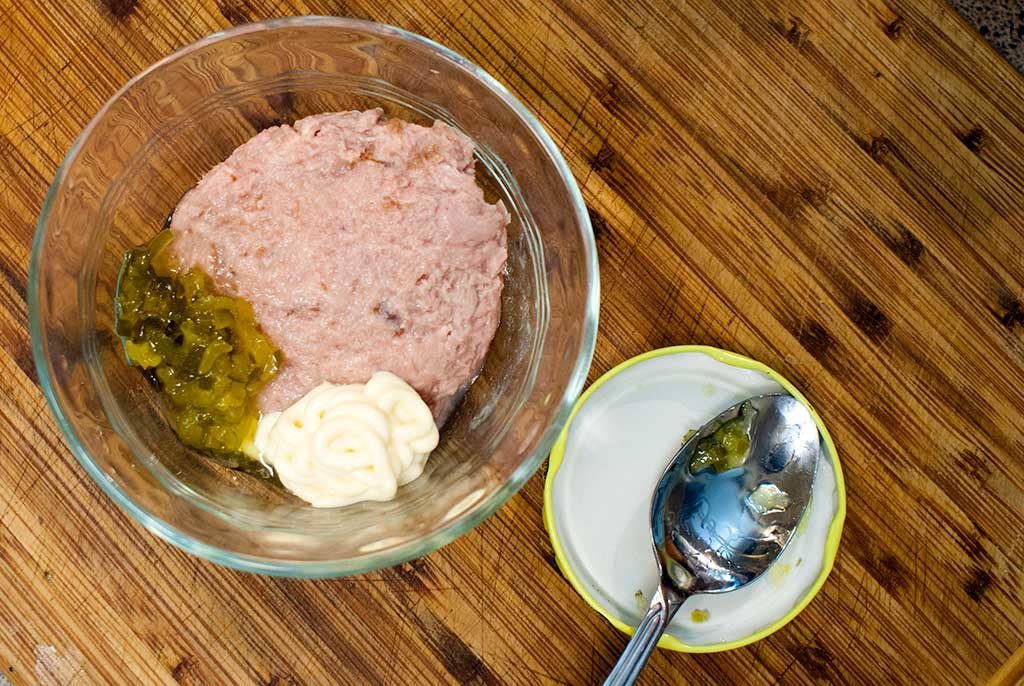
Now on to the filling! strain a small can of tuna (Oil packed, please. Let’s not be barbarians, here.) Grab some mayo and a little sweet pickle relish if you like.
Note: We’re using Japanese mayonnaise here, which is slightly sweeter than American mayo, but either will work.

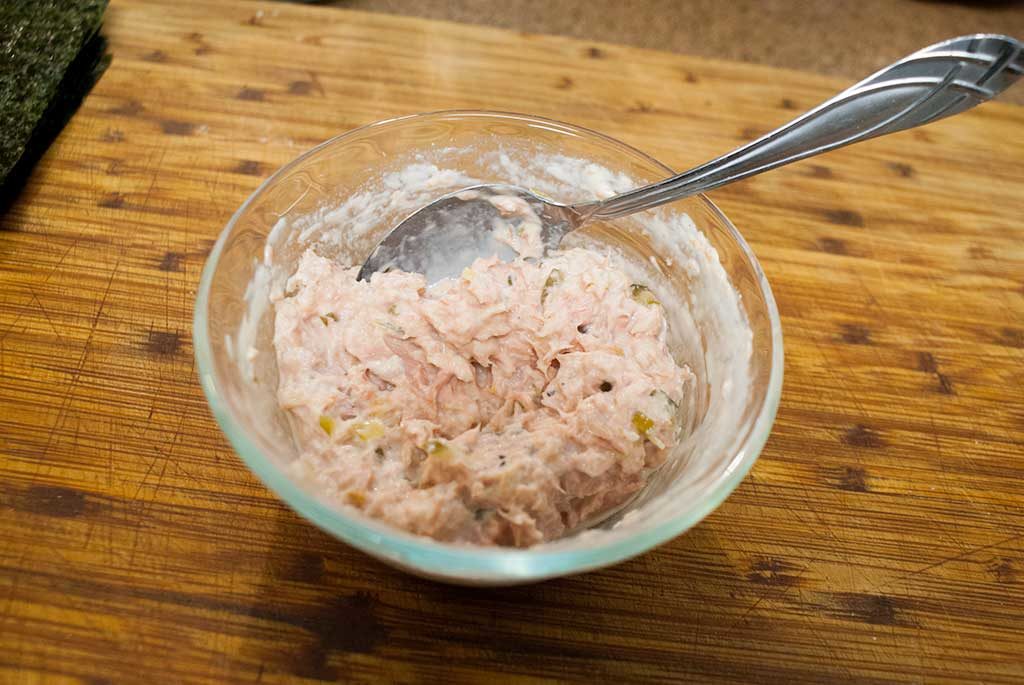
Mix about a teaspoon of mayo and a teaspoon of relish into the tuna.
You want to make sure the tuna or other filling isn’t too moist, or it will cause your rice balls to fall apart. So a little drier than what I ended up with here is good.
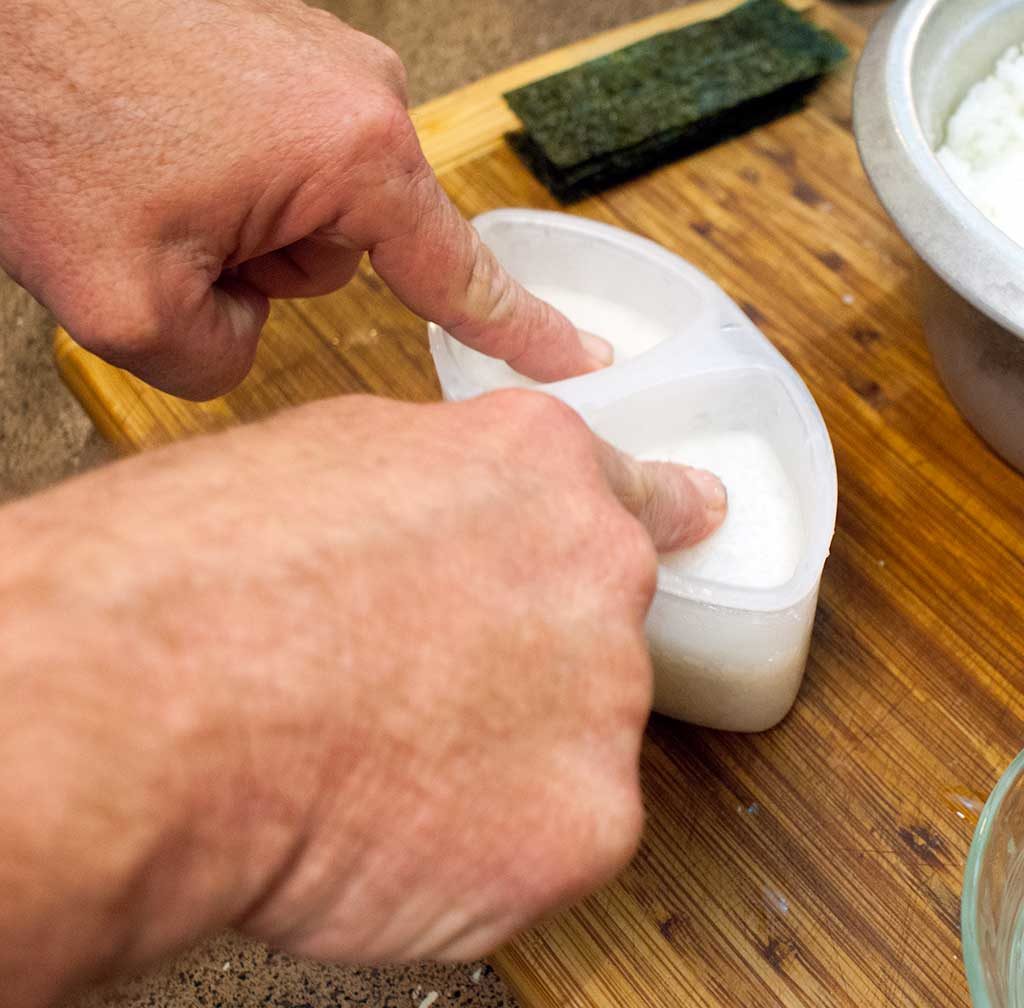
O.K. Grab a small bowl of water, a small bowl of salt and an onigiri press. Make sure the press is damp so the rice doesn’t stick to it.
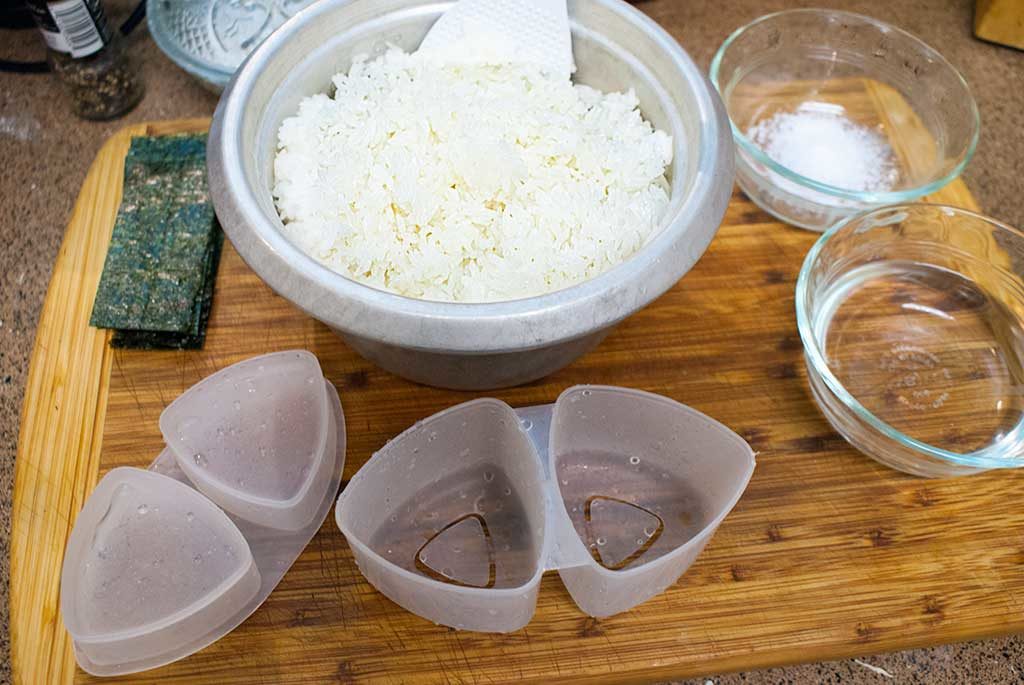
Scoop just enough rice into each side of the press to cover the bottom well.
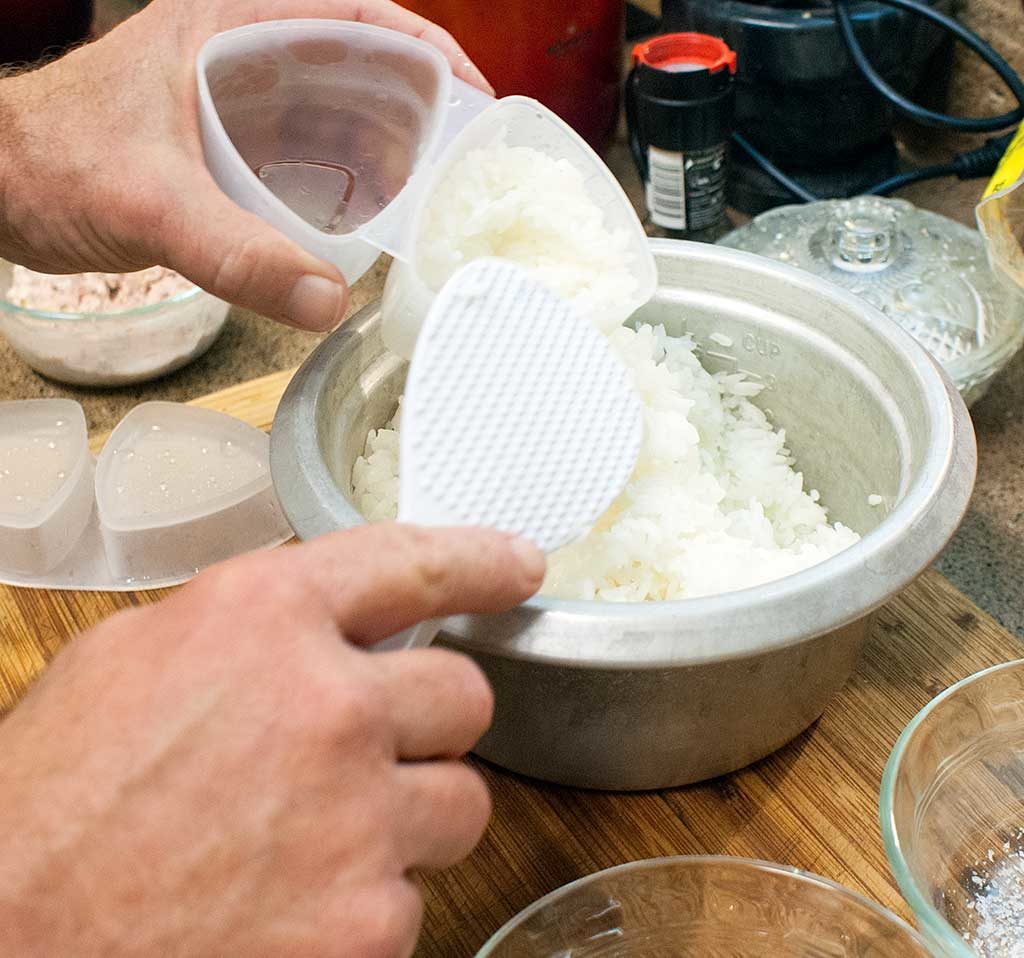
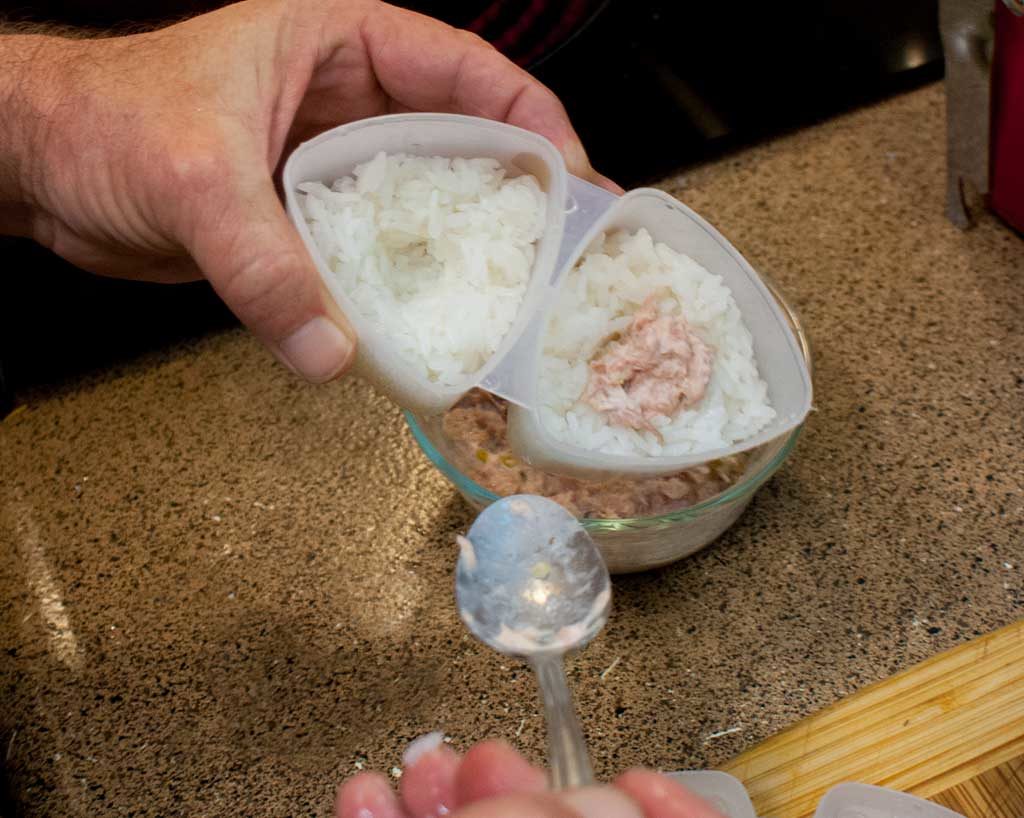
wet your finger, dip it in the salt, and form a well in the center of each rice ball.
Drop about 1/2 teaspoon of your filling of choice into the center of each rice ball.
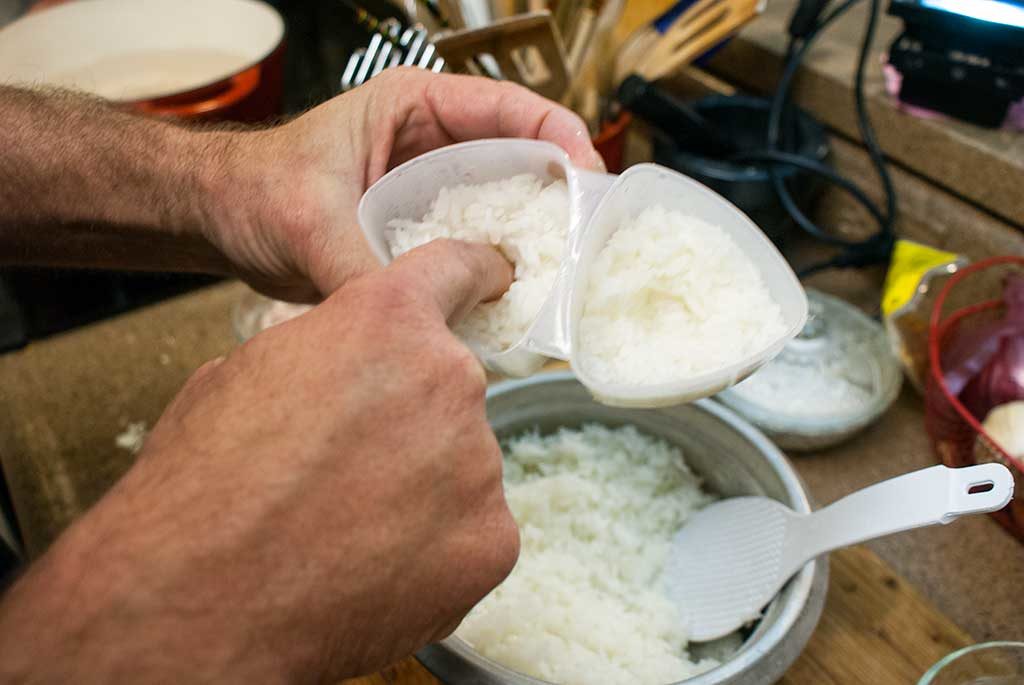
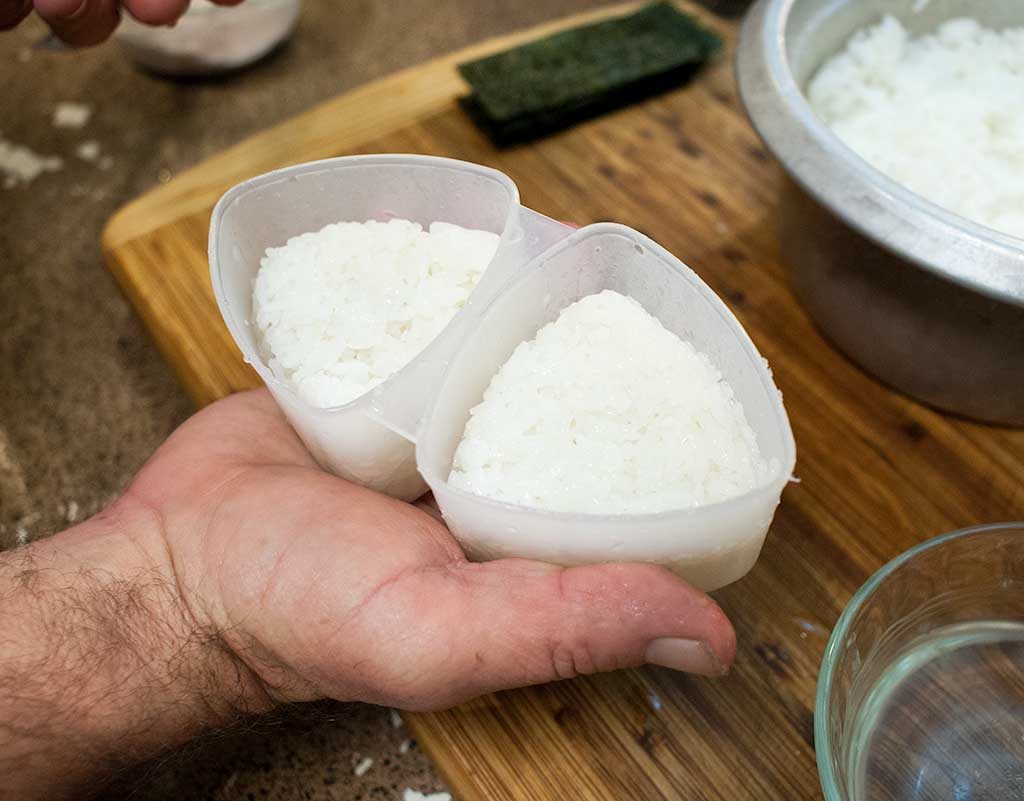
Then with dampened hands dipped in the salt again, add just enough rice to completely cover the top of the first layer of rice. (Note, you don’t have to fill the press all the way! Leave a little space at the top.)
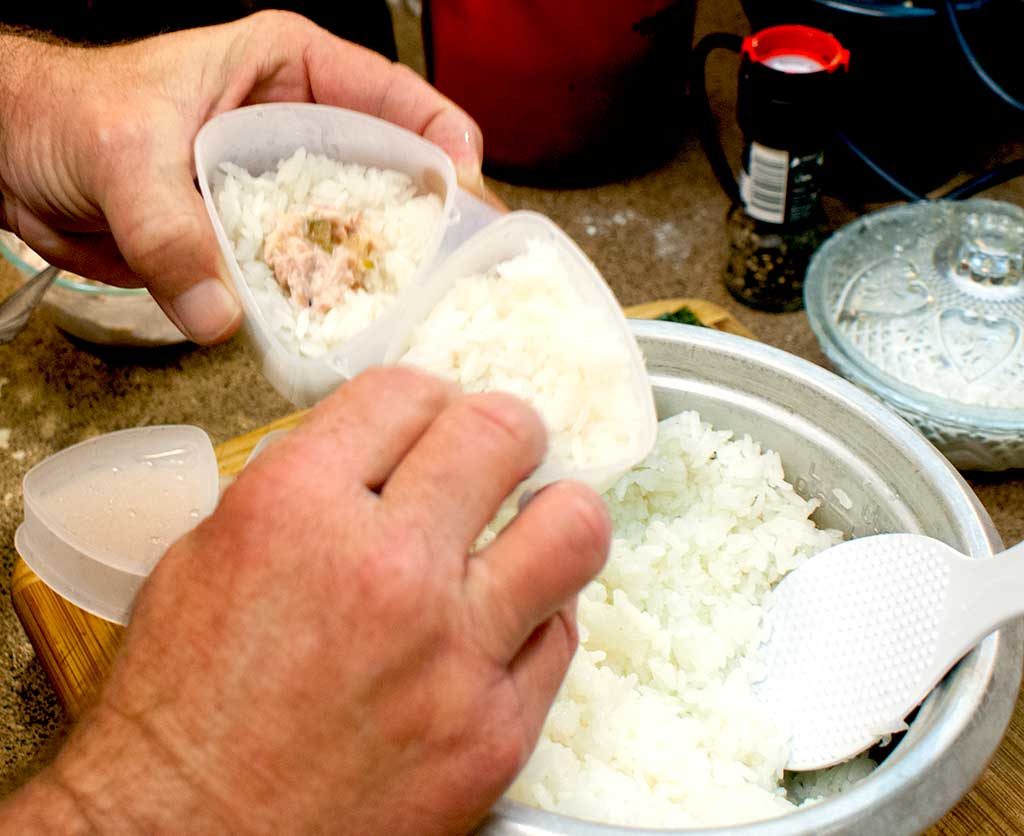
Then just take the other half of the press and push firmly down. The trick here is to apply even pressure, but not enough to crush the rice or force the filling to come out the sides.
There you go, two perfectly triangular rice balls, all ready to head to the table.
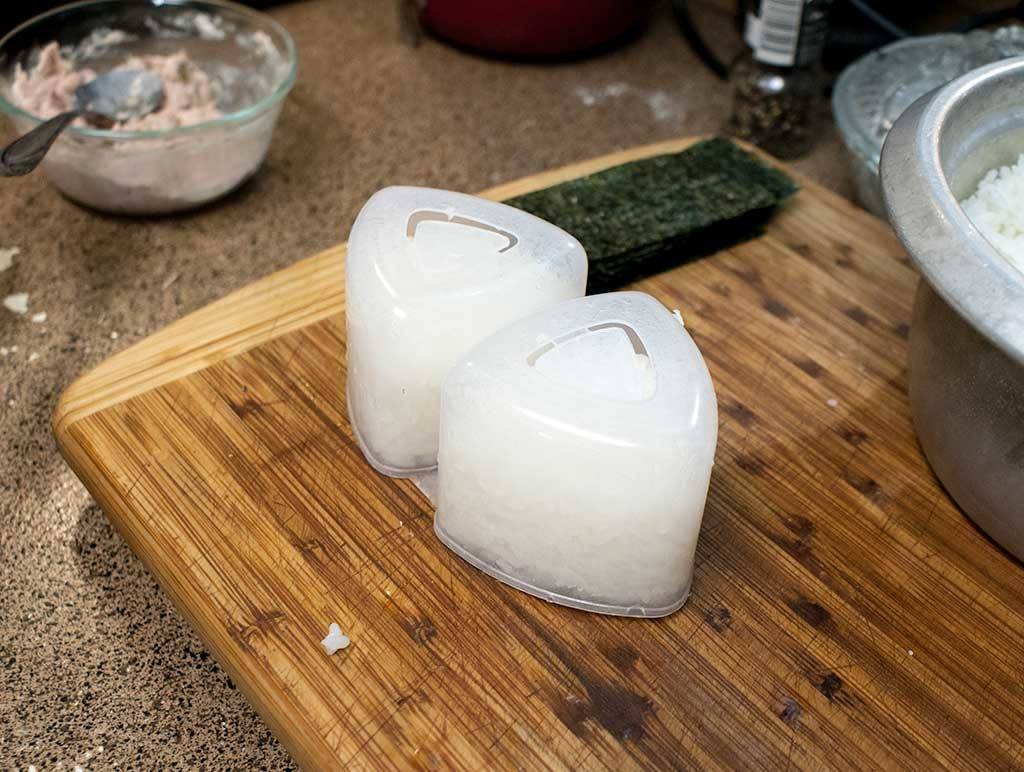
Flip your press over and get them out onto your cutting board.
If you’re planning on taking your onigiri with you for lunch, stop here, wrap them in plastic wrap and refrigerate until you’re ready to eat them. That will keep the nori from getting soggy (Which is not the most pleasant thing in the world.)
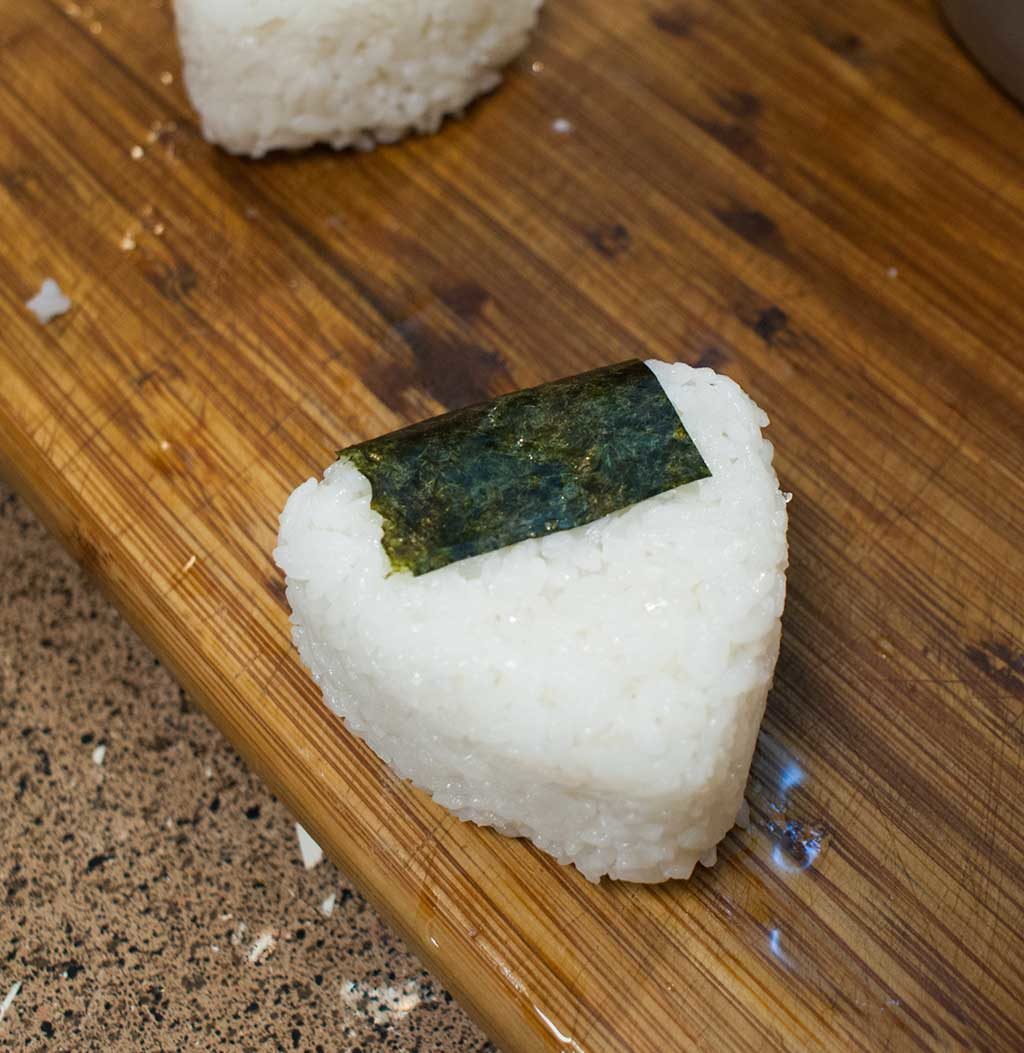
Since we’re gonna chow down on these now, go ahead and lay each rice ball out on a strip of the sushi nori you cut earlier.
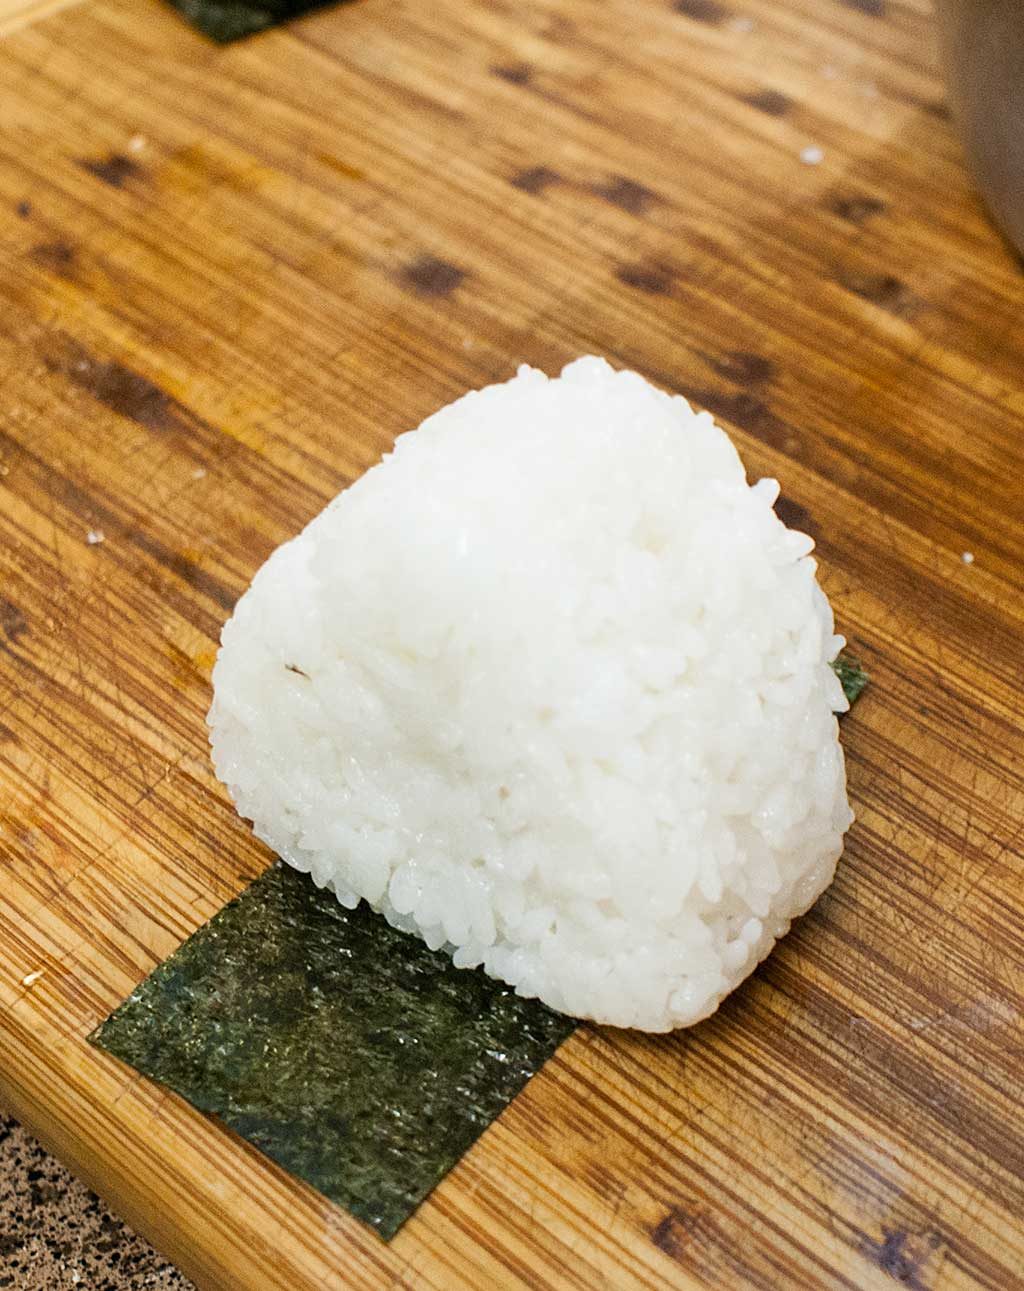
Then just fold the sides up around the onigiri, and you’re ready to eat.
All that’s left is to line ’em up on a plate and dig in.

And now for the printable Onigiri recipe:

How to make onigiri (Japanese rice balls)
Onigiri (Japanese rice balls) are the quintessential meal on the go. The perfect blend of simplicity, elegance, and amazing flavor. You definitely need to make these!
Ingredients
- 4 cups freshly cooked short grain white rice
- 1 sheet sushi nori
- 1 (5-ounce) can tuna packed in oil
- 1 teaspoon mayonnaise
- 1 teaspoon sweet pickle relish
- Salt and pepper to taste
Instructions
- Cook rice according to package directions, remove from pan or rice cooker, fluff with a fork or a rice paddle and set aside.
- Cut nori seaweed into strips of desired size (use more or less as you like!)
- Drain tuna and mix with mayonnaise and relish in a small bowl.
- Wet onigiri press by running under cold water. Fill the press about 1/2 way full of rice and carefully make an indent in the center with a finger or spoon dampened in salt and water.
- Fill each indent with about 1/2 teaspoon of the tuna mixture, then more rice until evenly covered.
- Place the base of the press over the rice and apply firm, even pressure until the rice is compacted, but not crushed.
If serving immediately:
- Remove onigiri from the press, wrap with nori seaweed and serve.
If transporting for lunch:
- Remove onigiri from the press and wrap in cellophane. Refrigerate until packed. Store nori separately and wrap your rice ball just before eating.
Nutrition Information:
Yield:
8Serving Size:
1Amount Per Serving: Calories: 180Total Fat: 5gSaturated Fat: 1gTrans Fat: 0gUnsaturated Fat: 4gCholesterol: 7mgSodium: 119mgCarbohydrates: 27gFiber: 1gSugar: 1gProtein: 6g
Notes on fillings:
As I said above, onigiri can be filled with just about anything that makes you happy. Try using a little fried chicken, or perhaps a tiny slice of tonkatsu. You can use dried bonito flakes mixed with a drop of soy sauce (This is crazy yummy, by the way!), or hard boiled egg, and avocado, if that’s where your happy place is. Just have fun with it!
Hand shaping onigiri:
As I said, I’m terrible and hand-shaping triangular onigiri. I have large hands and they tend to end up sloppy or crushed, so I use a press. But if you’d like to see the traditional method, check out the video below:
Show a little love, people!
As always, I love you guys. You’re the reason I’ve been fortunate enough to do this for 10 years. I don’t know where I’d be without you. I also love sharing new recipes and tips with you. I hope you found this useful, or funny, or both.
If you did, please take a second to share this recipe on your various social media platforms. Maybe grab one of the items we highlight above the recipes. If you do, we make a few pennies here and there, and we appreciate it.
Better yet, drop a comment and leave a rating on the recipe. We love to hear from you.
Until Next time,
Food is love. Share and enjoy.